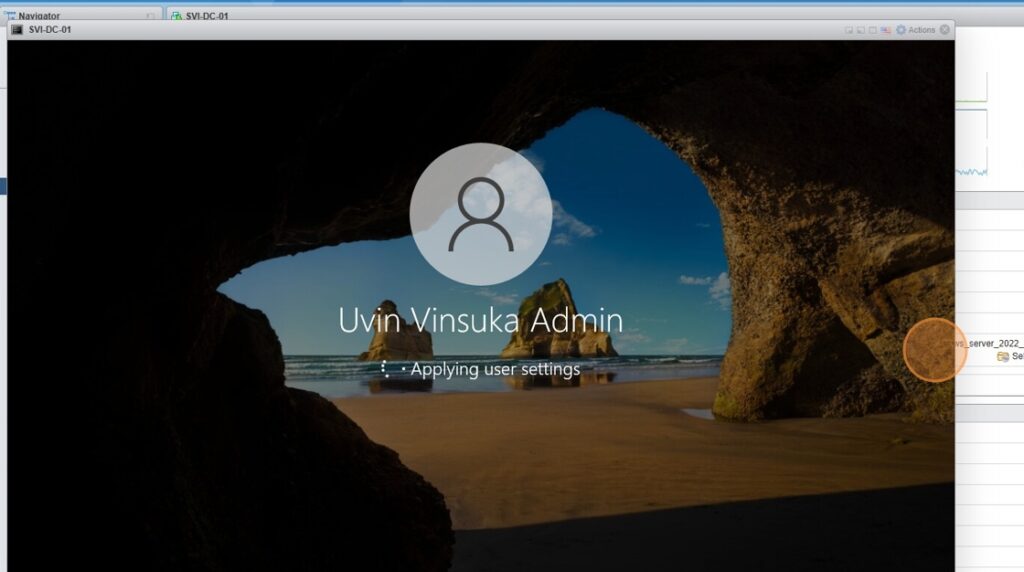
1. Log into the Domain Controller
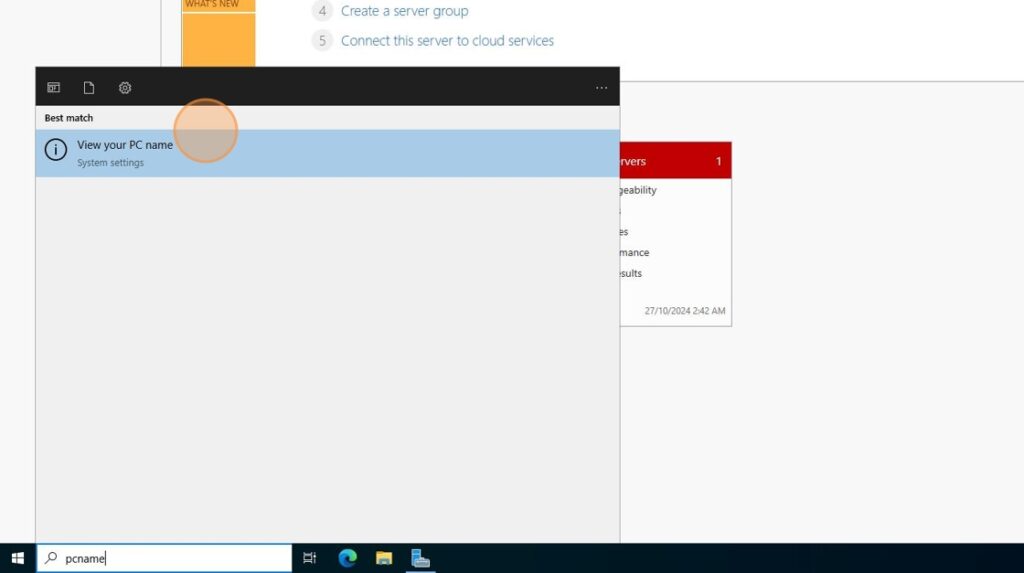
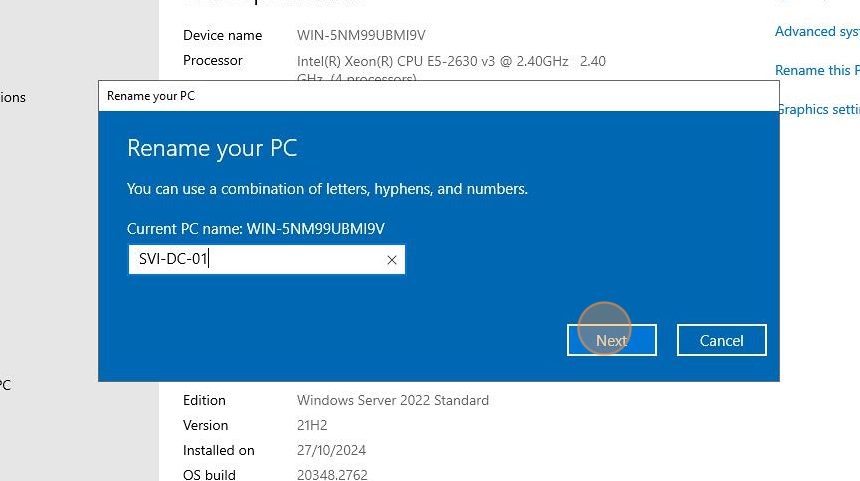
2. First step is to rename your PC. Search for “View your PC name”
3. Click “Rename this PC”
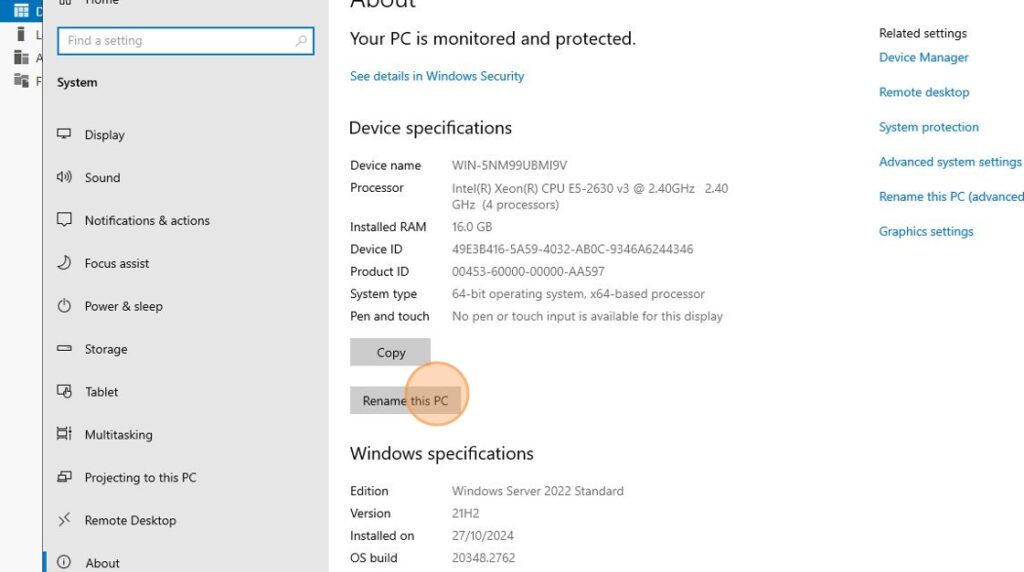
4. Rename and click next
5. Click Restart Now and wait for device to restart

6. Log back into the Domain Controller
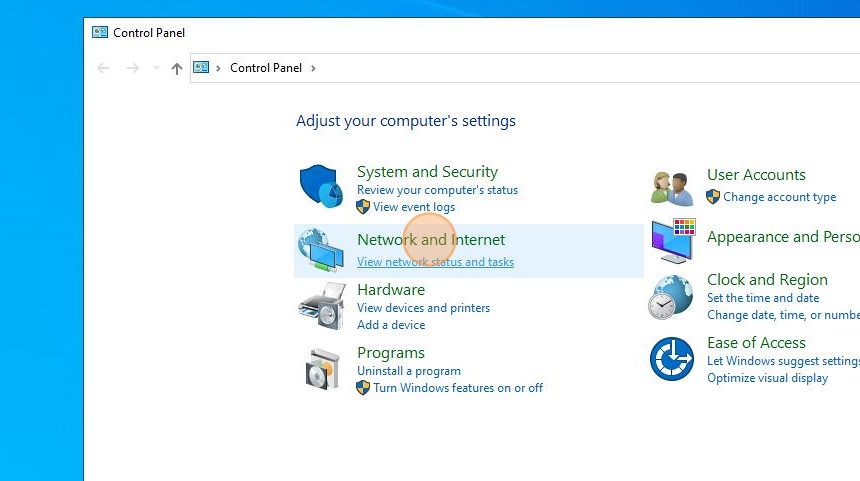
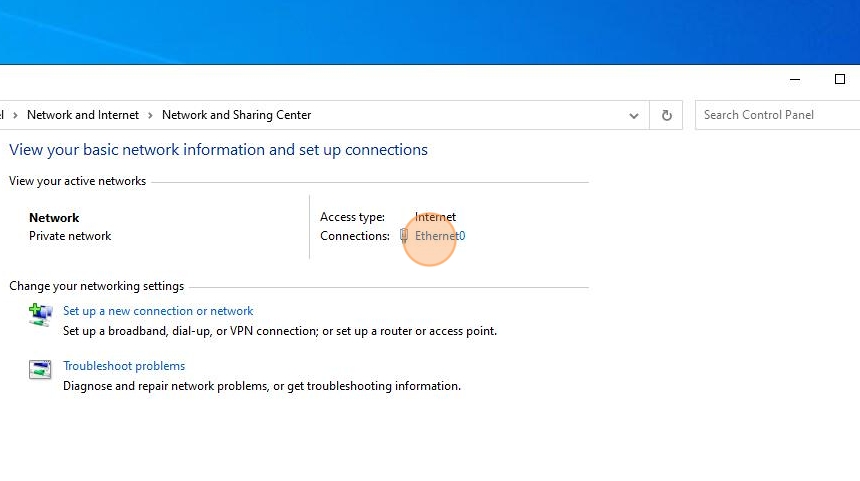
7. Next step is to set a static IP address to the device. Search for Control Panel

8. Click “Network and Internet”
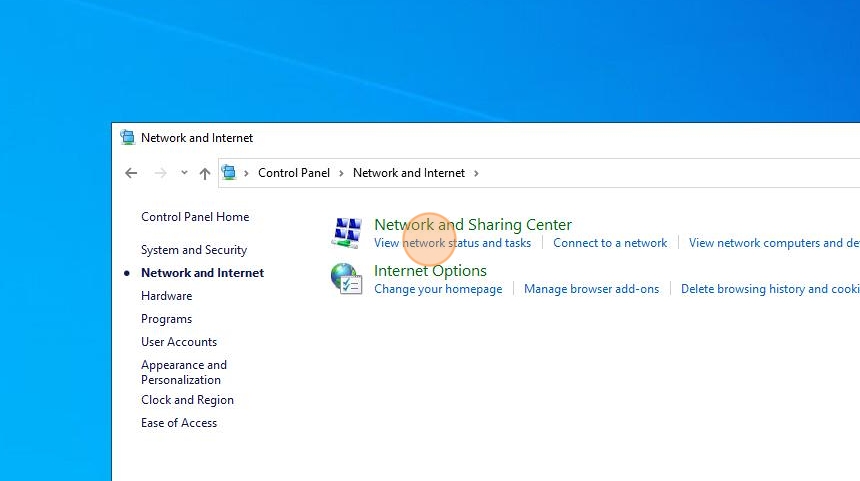
9. Click view network status and tasks
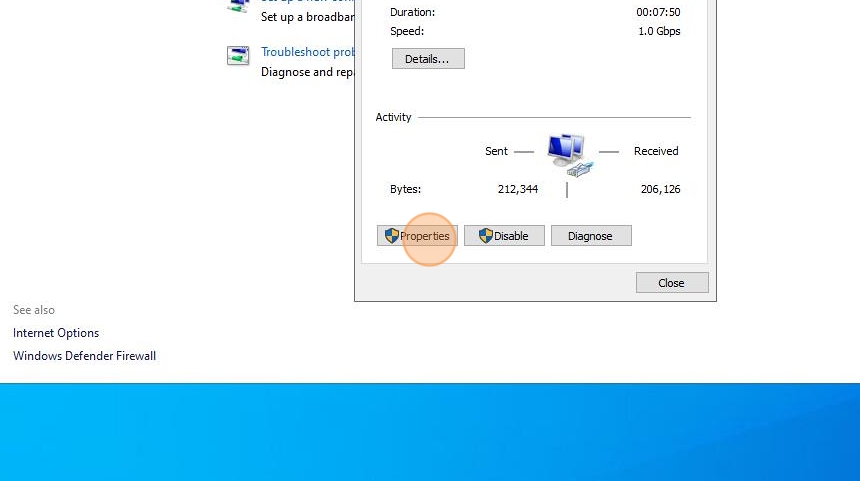
10. Open ethernet adapter
11. Click properties
12. Click IPv4
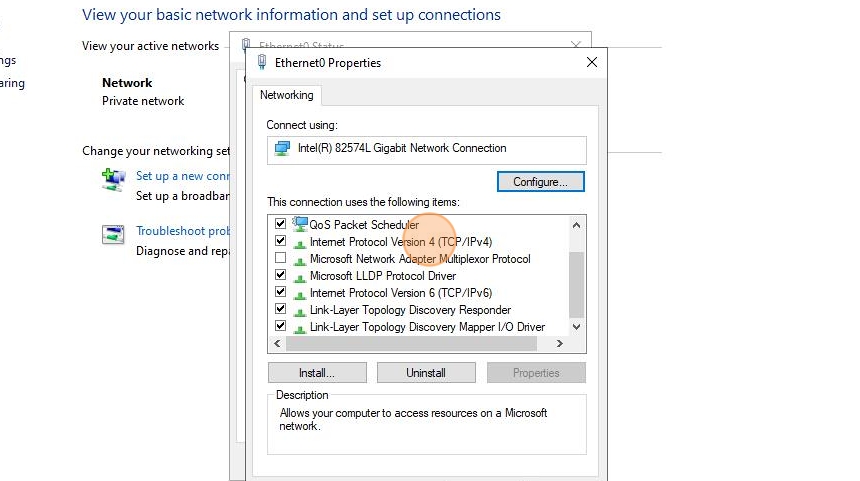
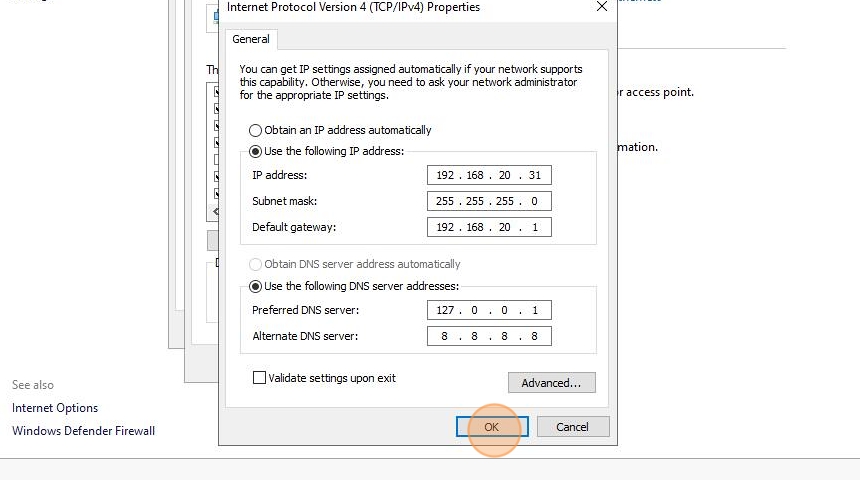
13. Pick “Use the following IP address”

14. Open Command Prompt and Type ipconfig
15. Our goal is to set a static IP address to the server so it won’t change everytime DHCP updates. Right now it’s on a default network since I haven’t set up networking in my lab yet. We need to assign an IP within our current range.
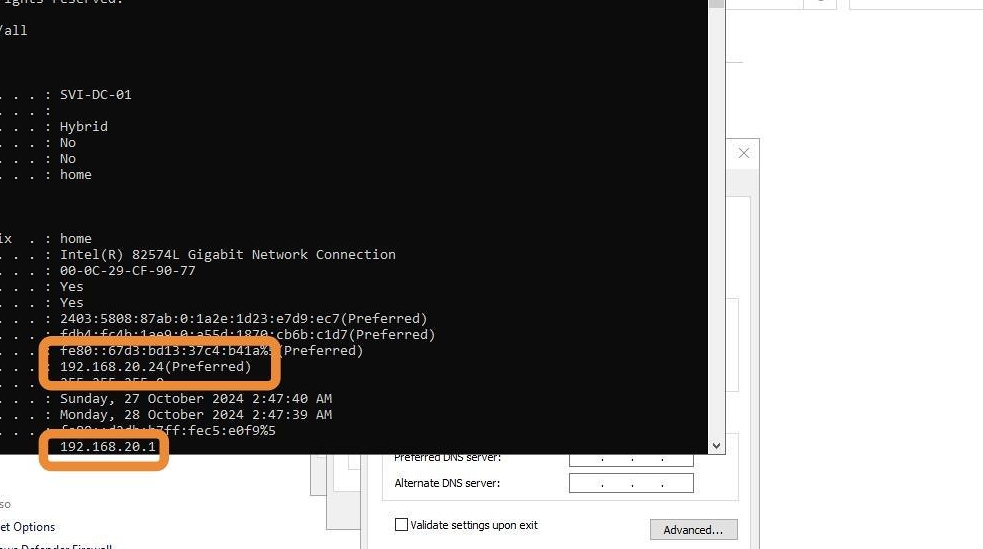
16. Set up 192.168.20.31 for the Domain Controller. The default gateway is set to the default gateway on the CMD prompt above which is 192.168.20.1. The default gateway is the router’s IP address.
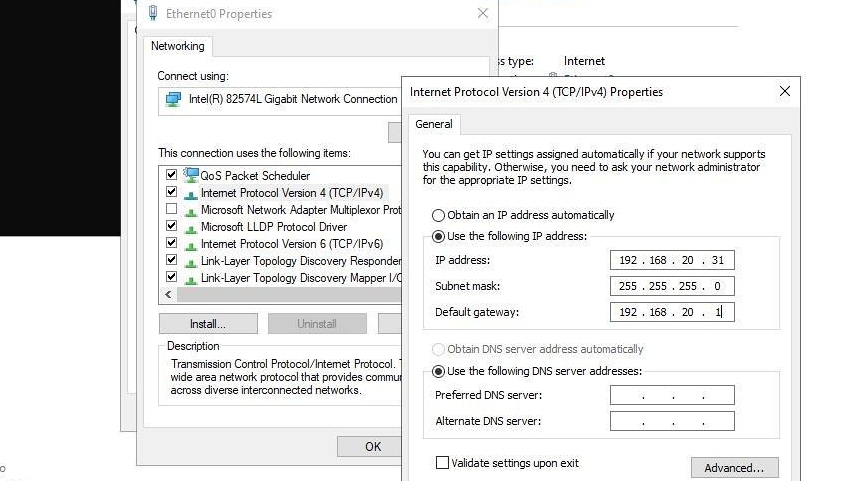
17. Set up loop back address 127.0.0.1 and Googles DNS Server 8.8.8.8 as the DNS server addresses
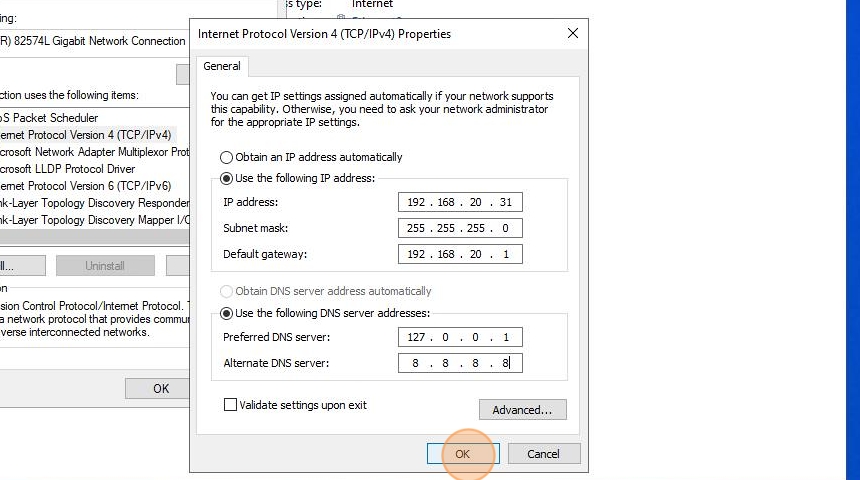
18. Click Ok
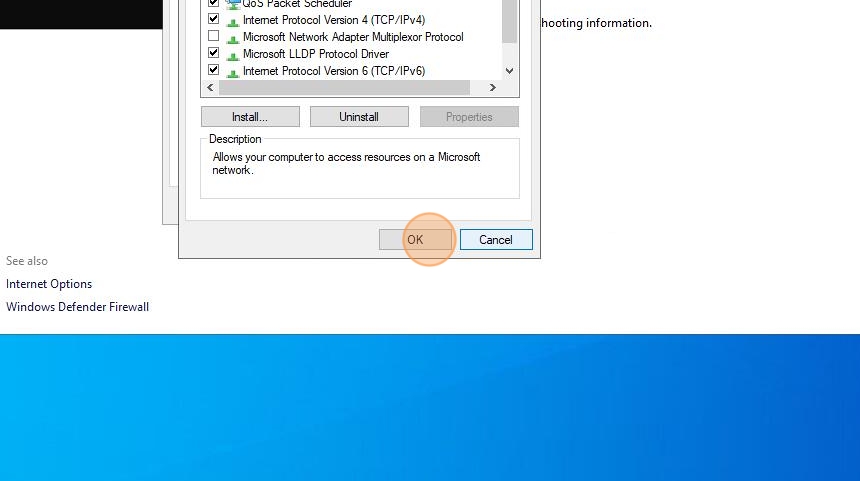
19. Click “close” when done
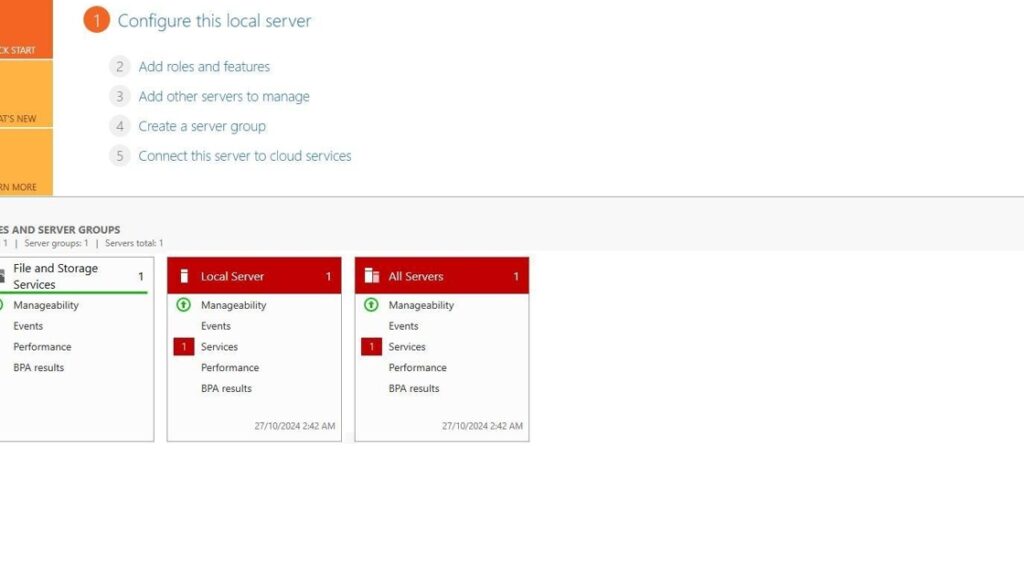
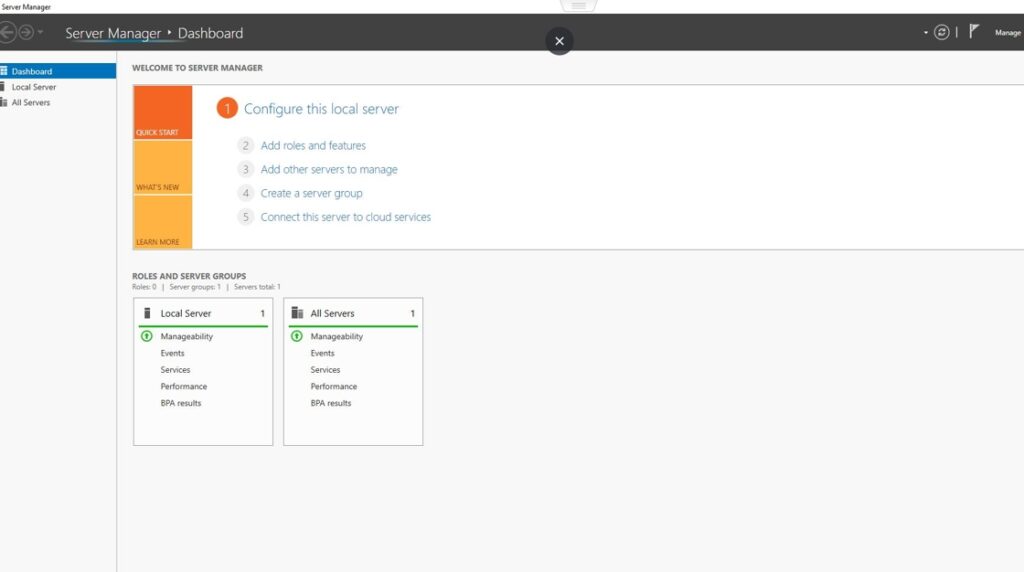
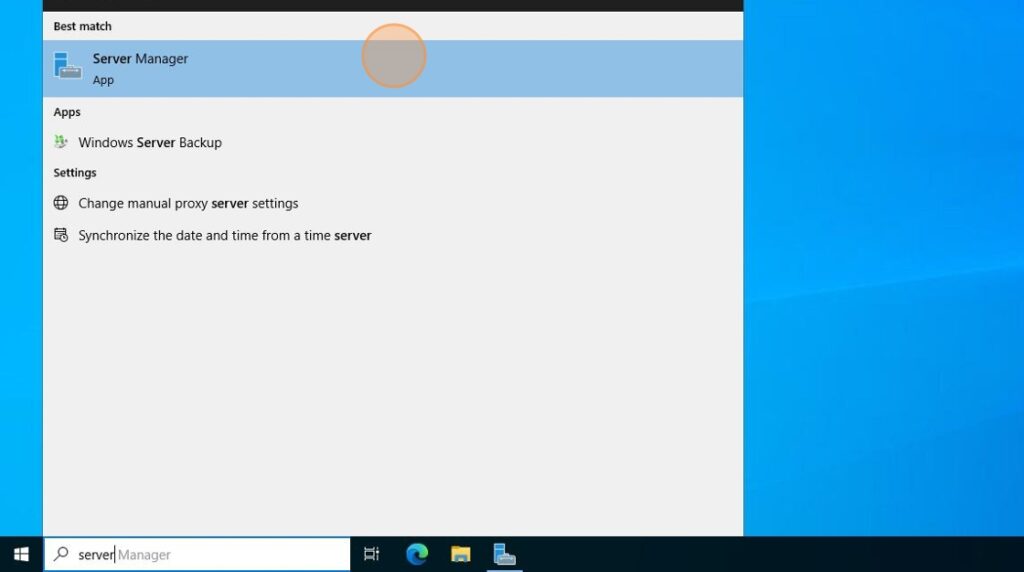
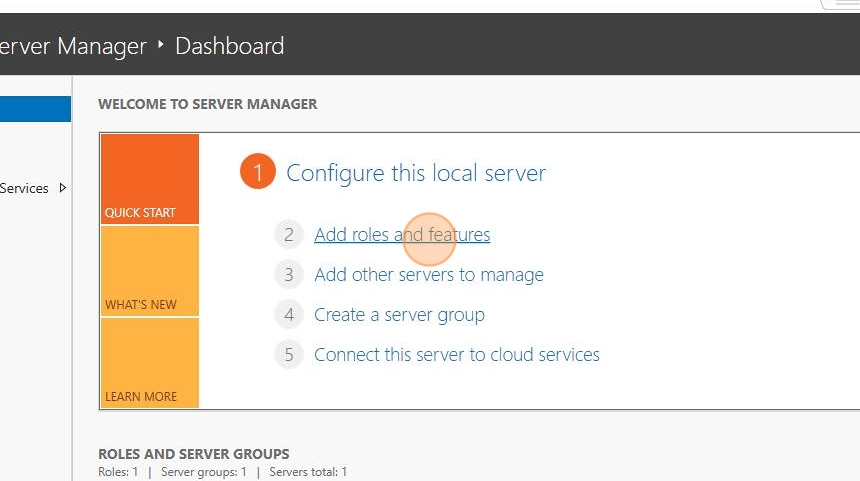
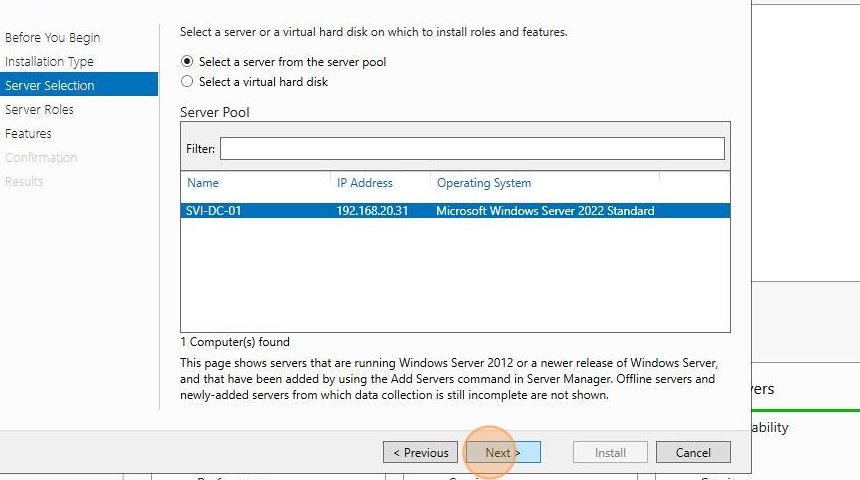
20. Open Server Manager to Install Active Directory Roles and Features
21. Click “Add roles and features”
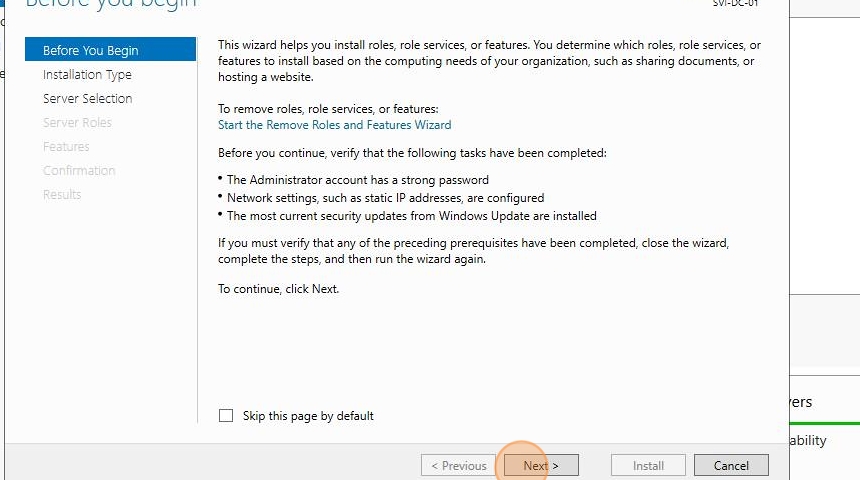
22. Click next
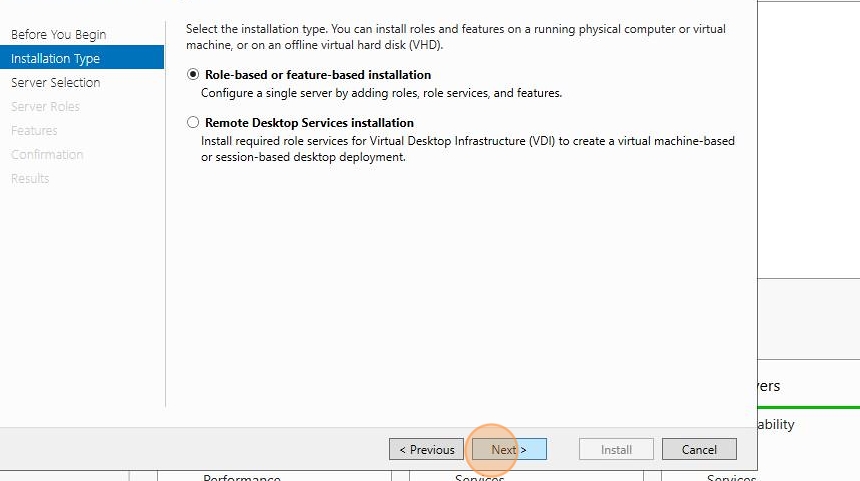
23. Pick “role-based” and click next
24. Pick the domain controller and click next
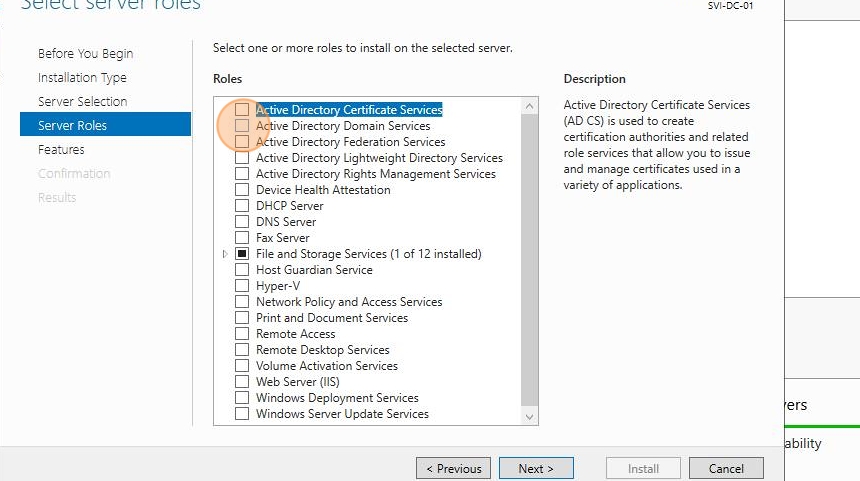
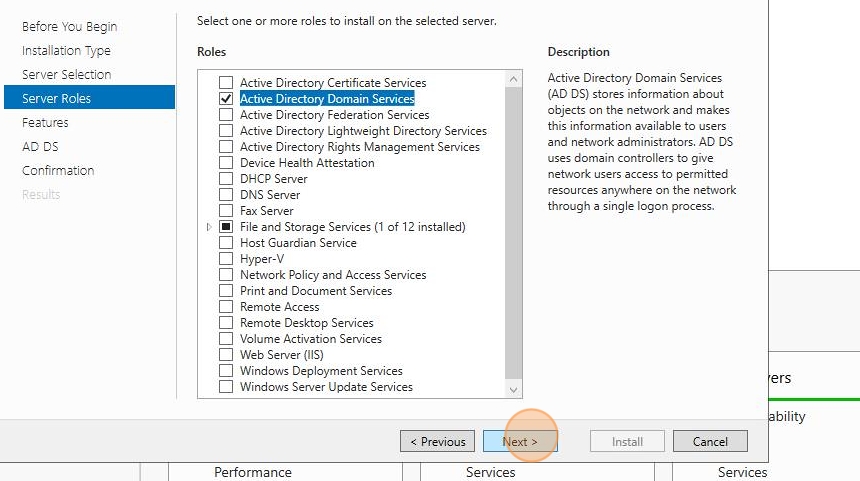
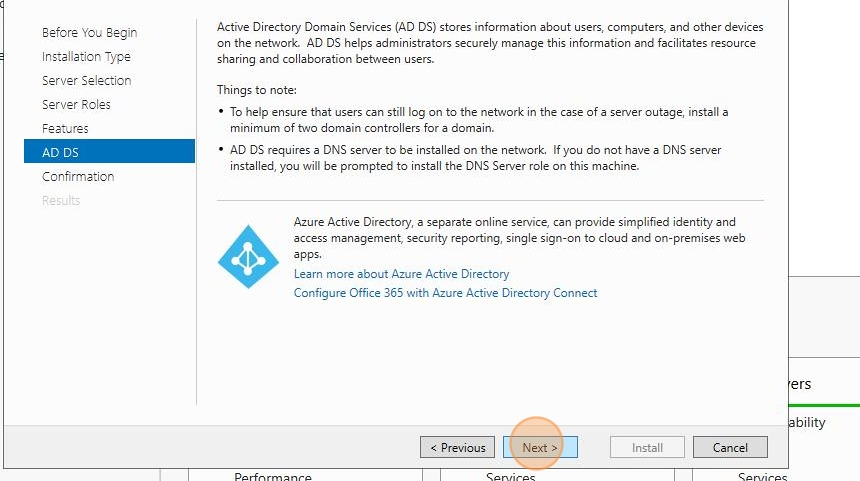
25. Tick Active Directory Domain Servcies
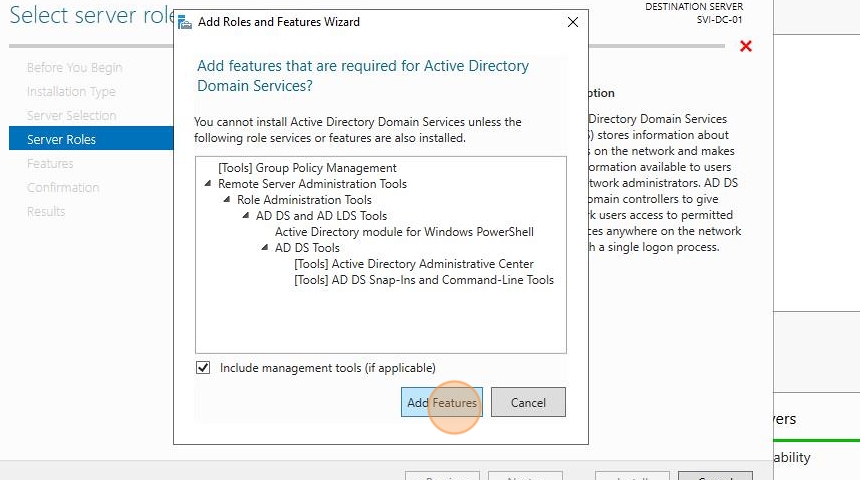
26. Click “Add Features”
27. Click next
28. Click next again

29. Click next
30. Click install
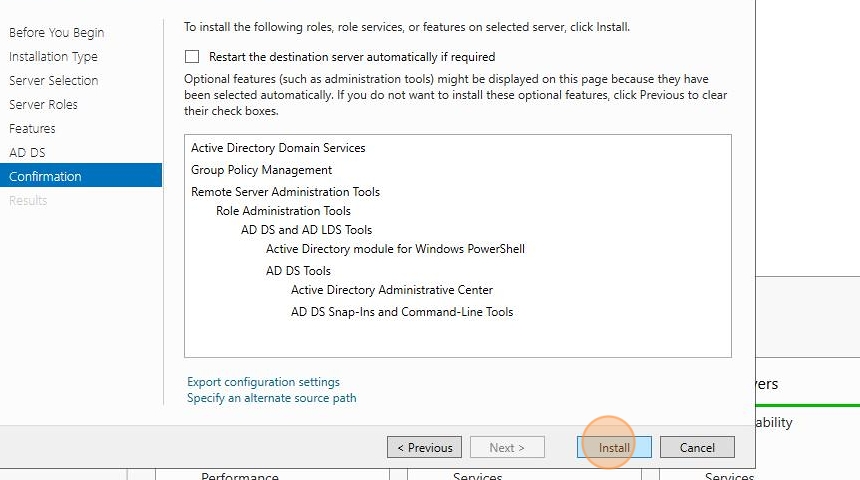
31. Click close when done
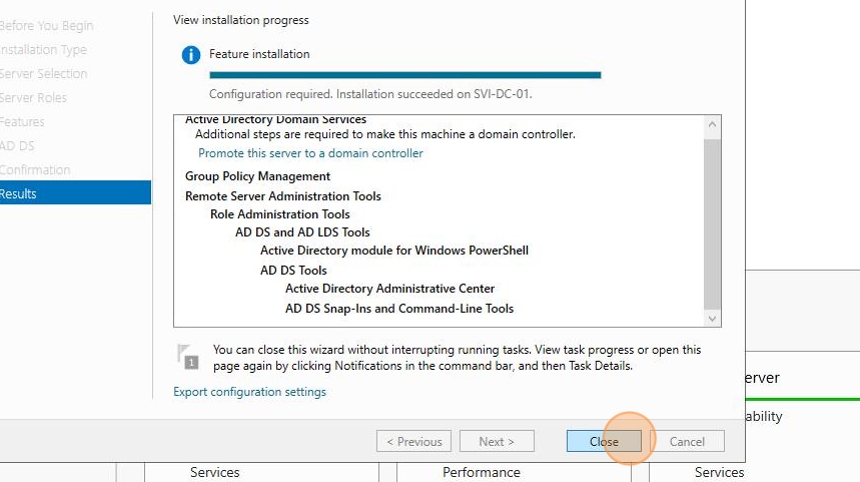
32. AD Roles and Features is now installed. This computer needs to be promoted to become a Domain Controller. Click on the Exclamation mark and select “promote this server to a domain controller”

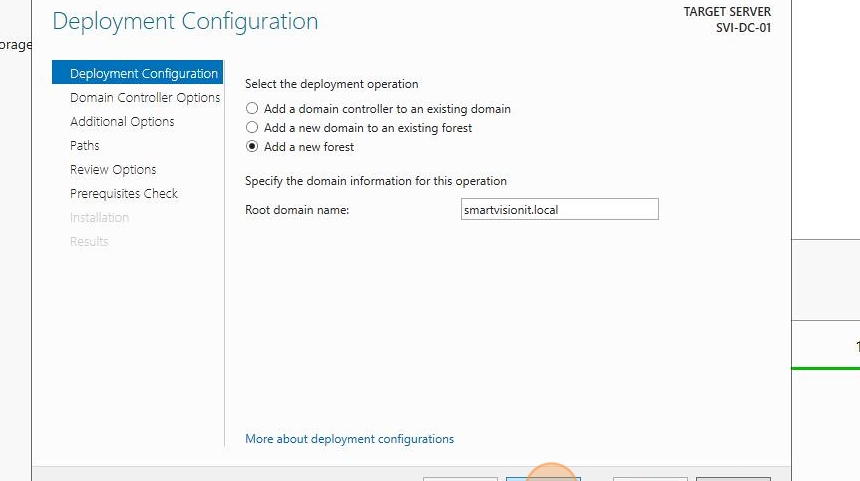
33. Pick add a new forest. Enter the root domain name. We are going with the .local top level domain name. Click next
34. Pick Forest Functional Level. This has to be the minimum server OS version we got in our domain. Since we will only have server 2022 and above in the AD environment, we can leave this as 2016.
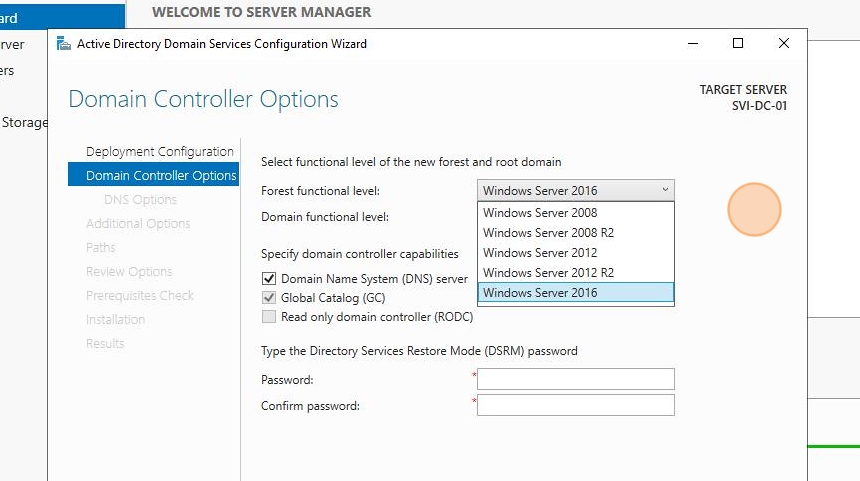
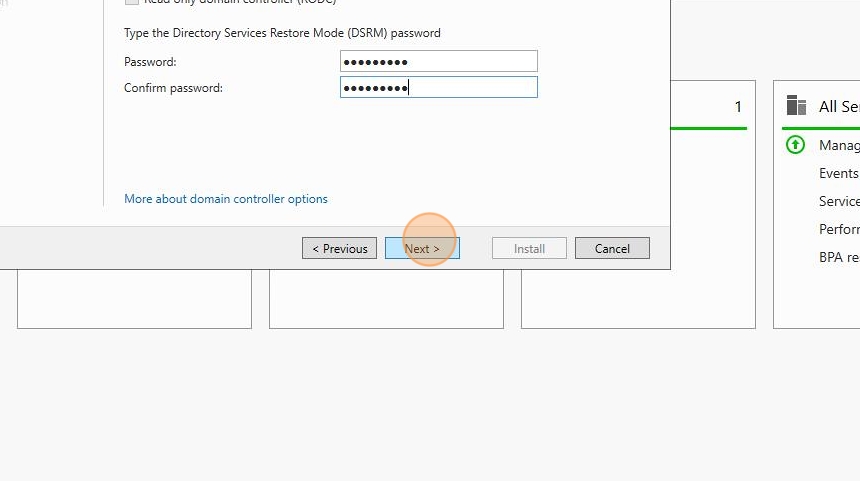
35. Enter a DRSM password (make sure you remember this) and click next
36. Click next
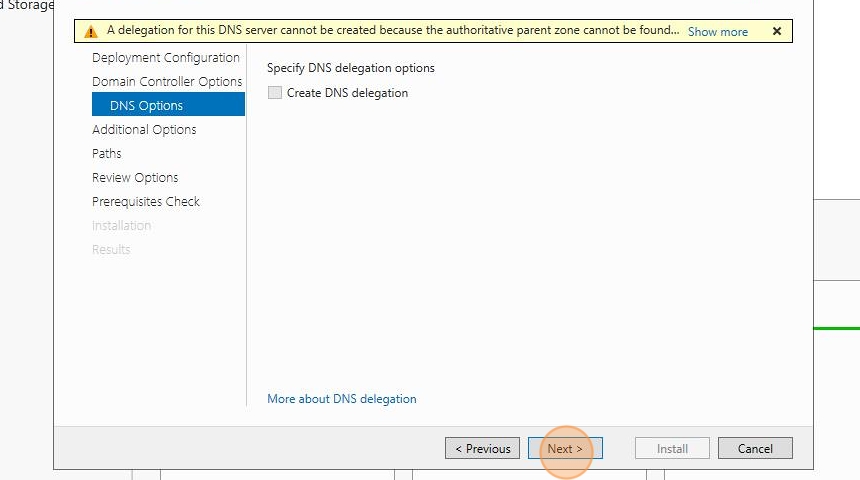
37. Leave it as default and click next

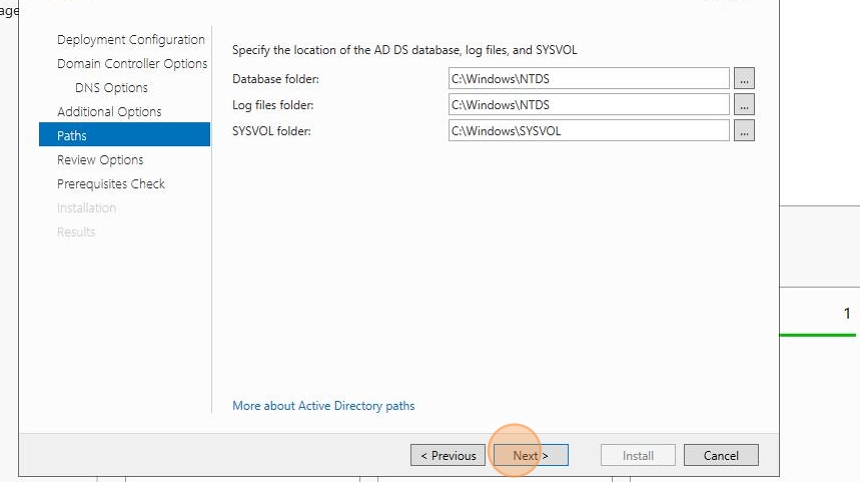
38. Leave as default and click next again
39. Click next
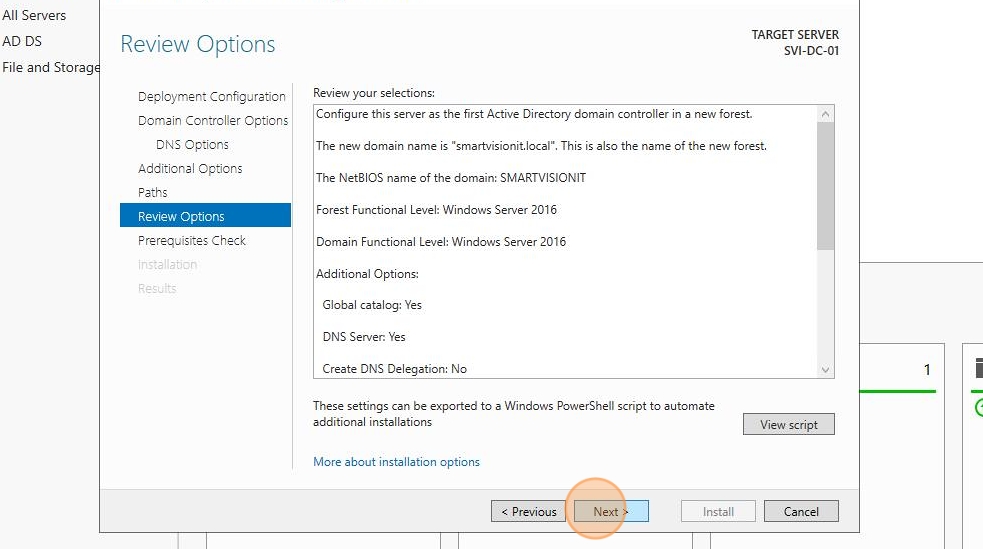
40. Click install and wait for it to install

41. Click “Close” at this prompt

42. Click close when done
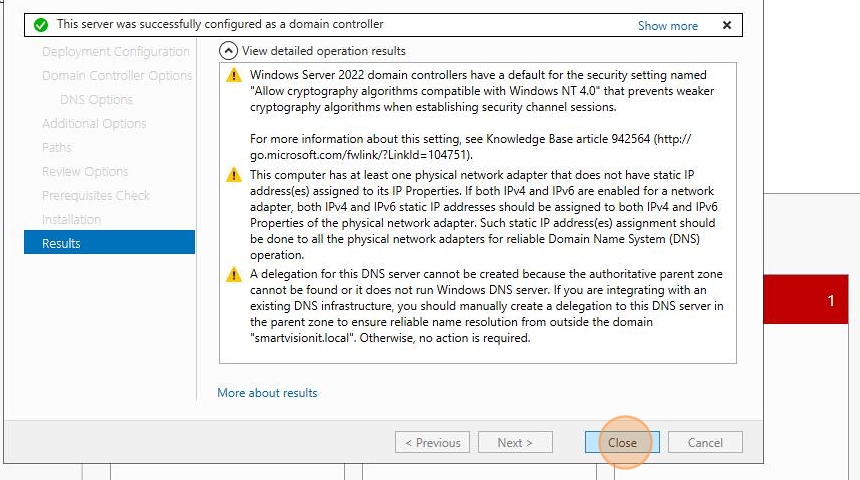
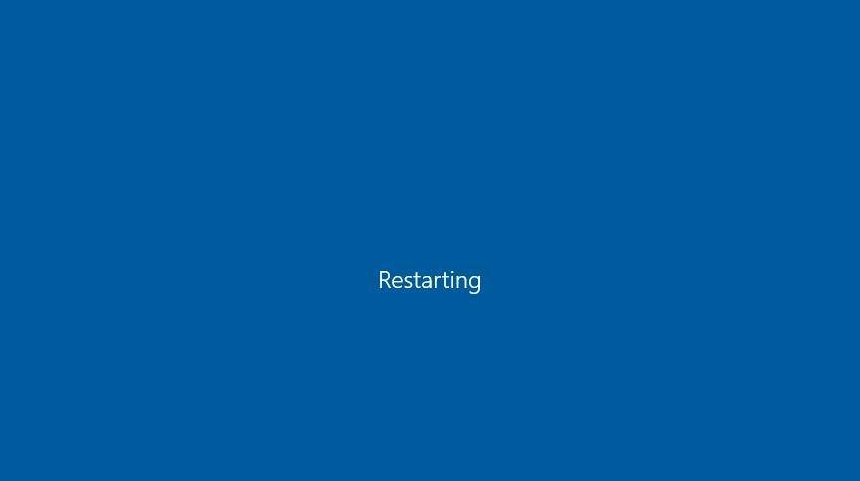
43. Wait for server to restart
44. Log in with the local admin credentials
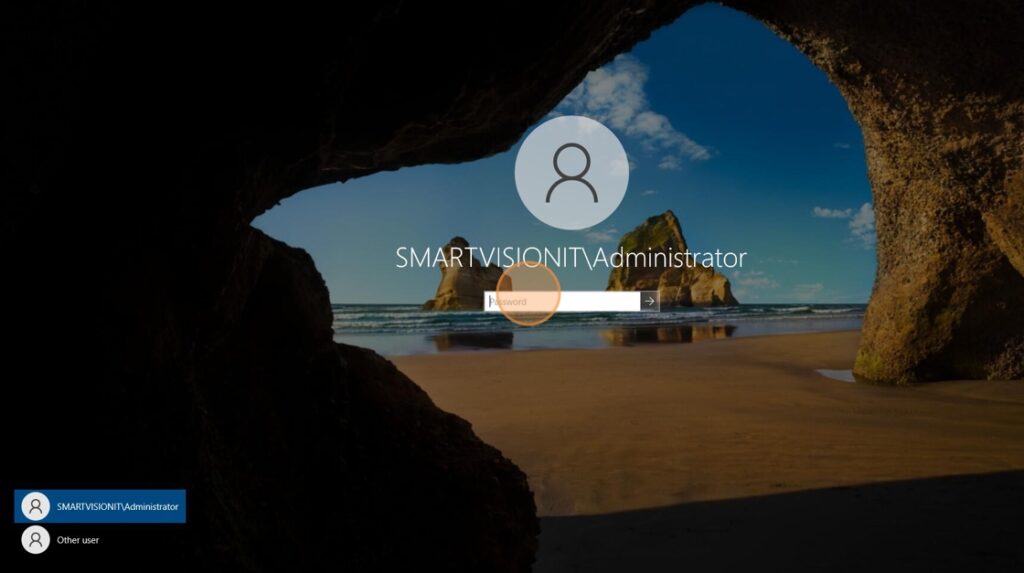
45. When logged in, do an ipconfig on cmd and ensure your DNS server IPs are still available. Sometimes this changes. As you can see we can only see the 127.0.0.1 loopback IP.
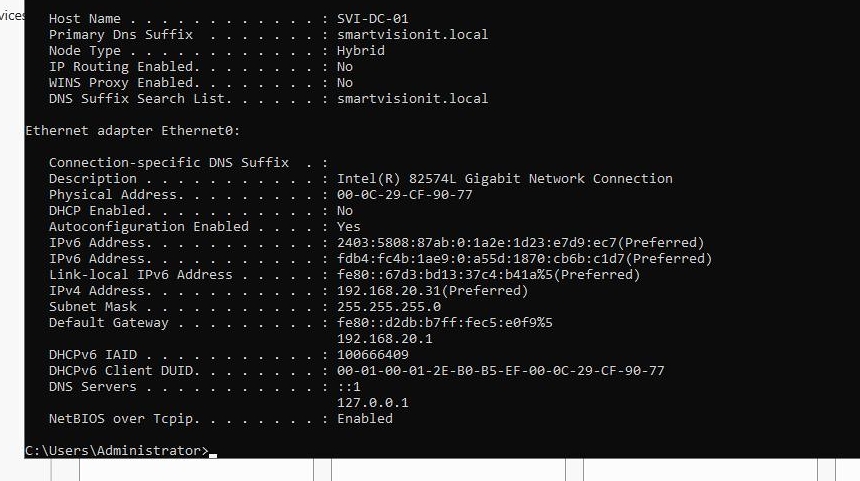
46. Go back into network settings and add the Google DNS servers again
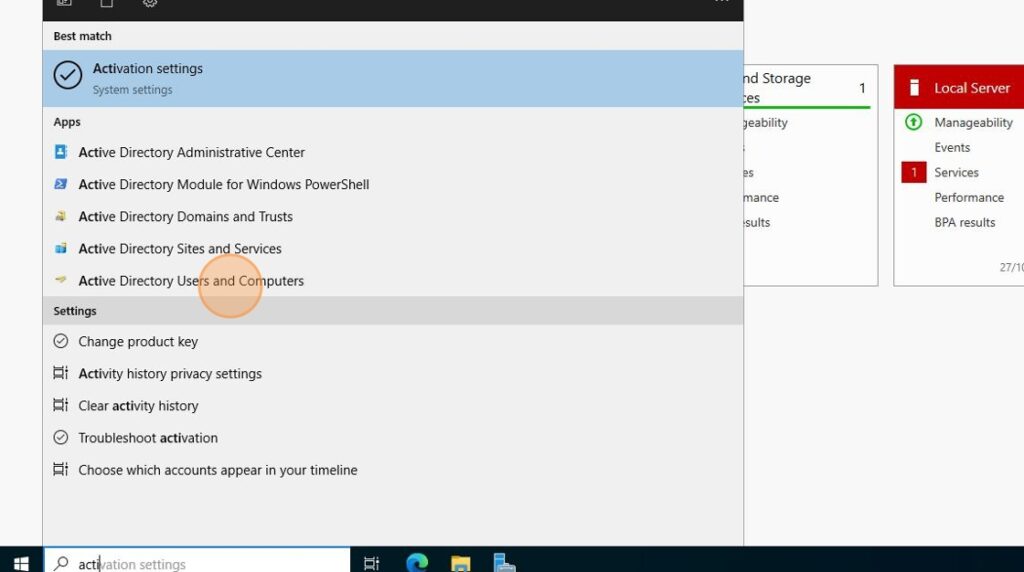
47. On search look up for Active Directory Users and Computers
48. Open it, and you can see your domain set up.
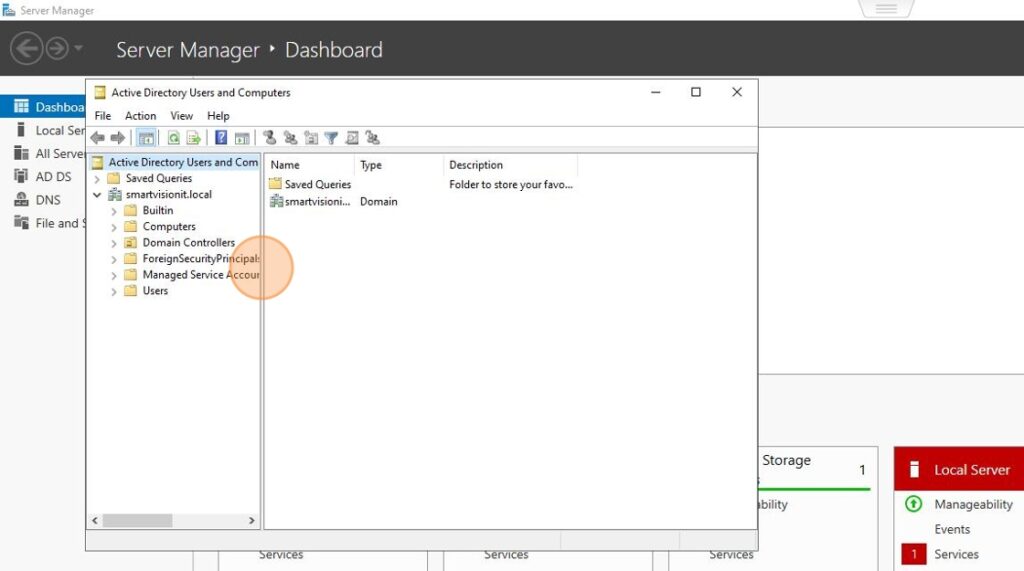
49. Click “Users”, and on the right panel, right click and pick new and then user
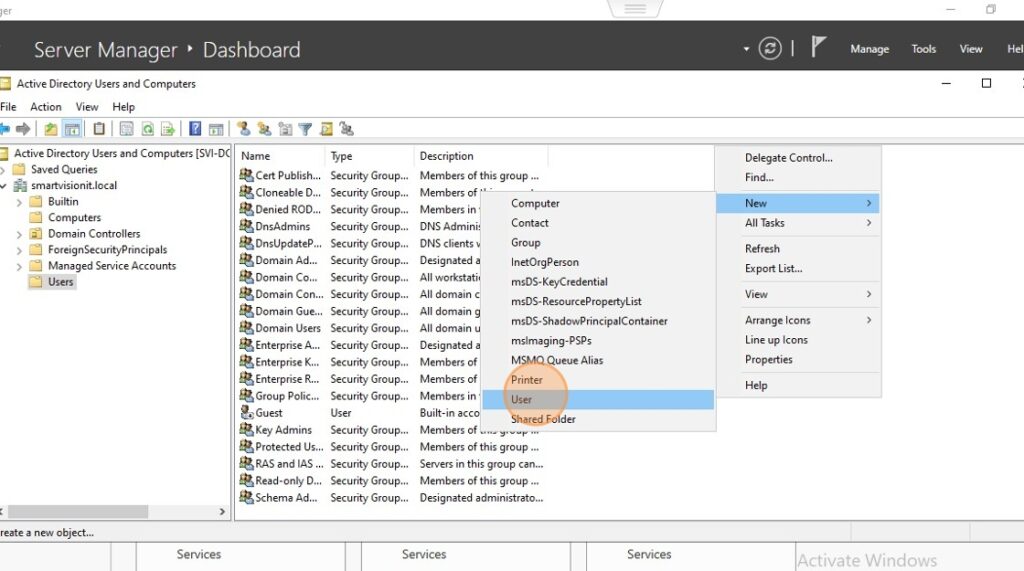
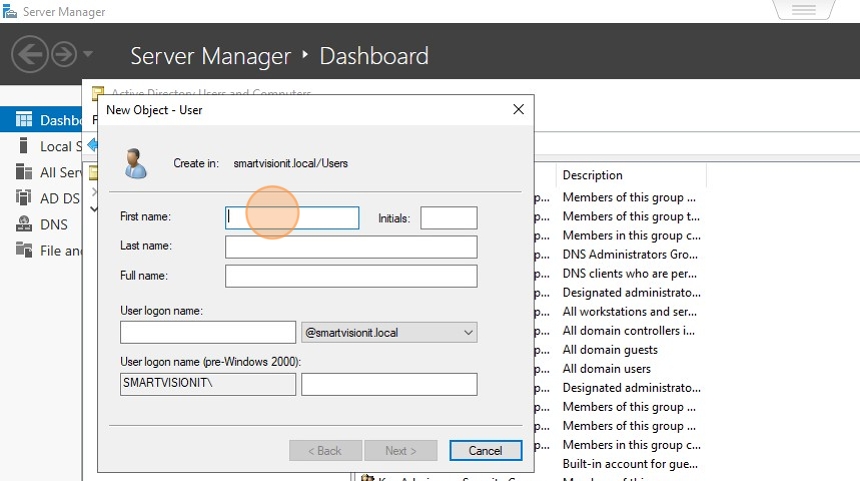
50. Create a new admin user
51. Enter First Name, Last Name and user logon name. Click Next
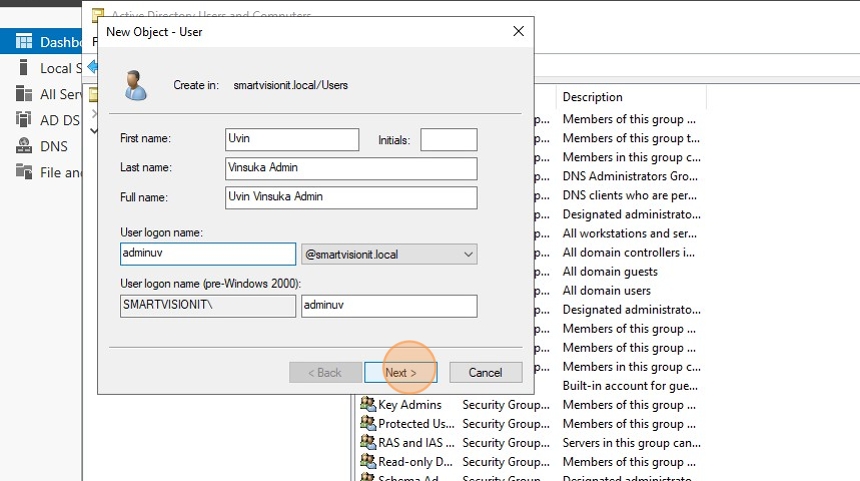
52. Enter a strong password and click Next
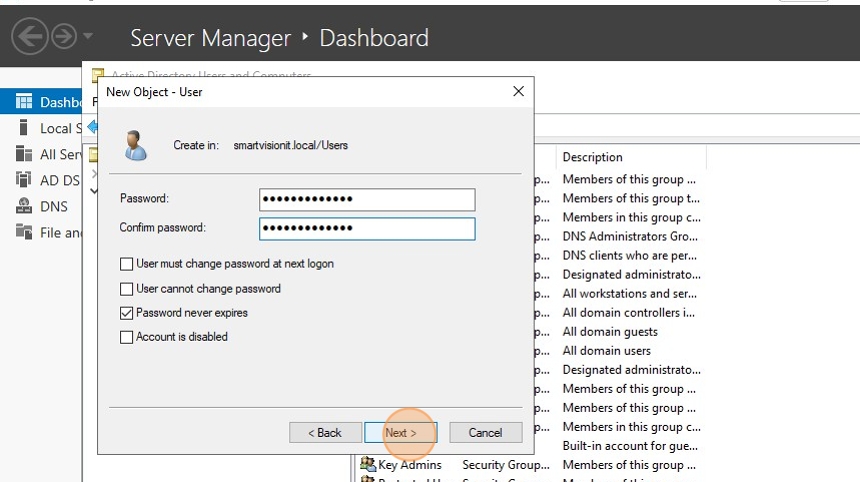
53. Click Finish
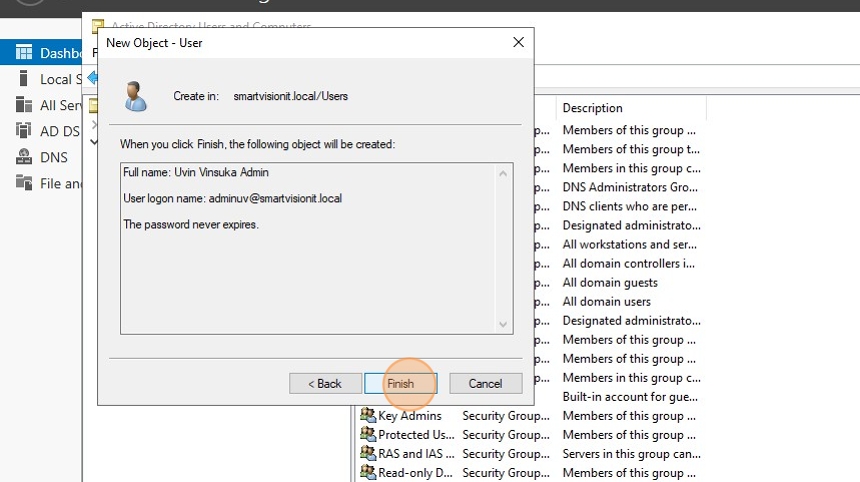
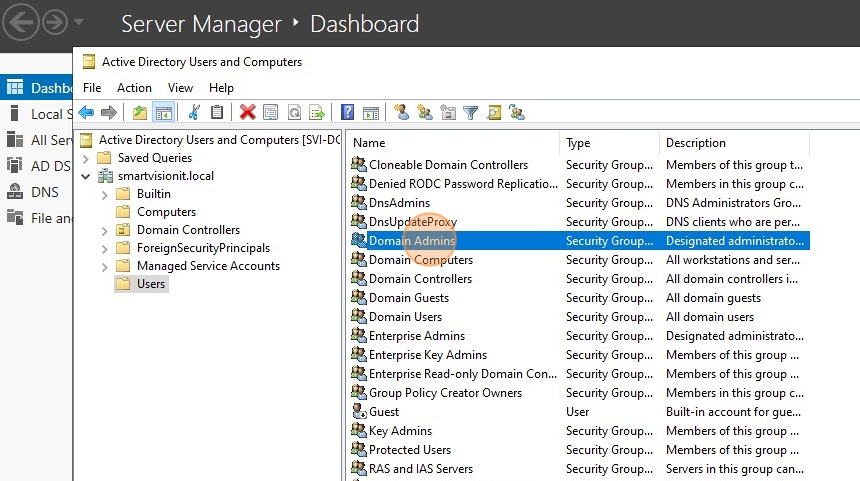
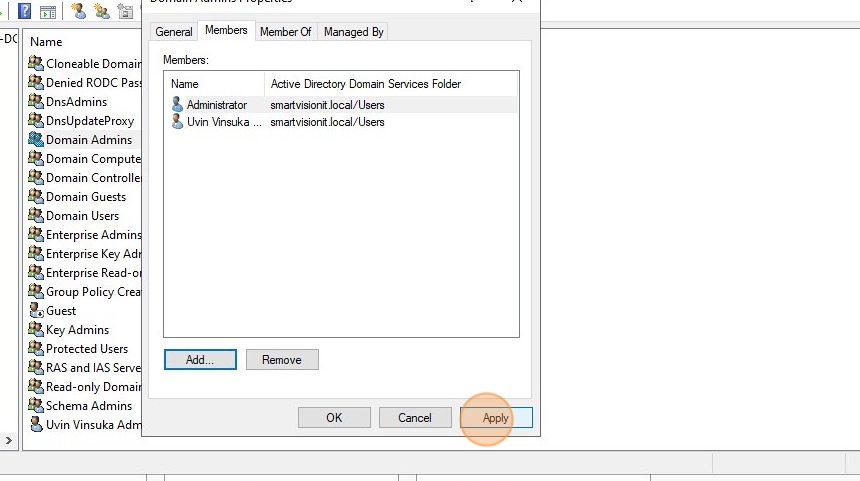
54. Double-click Domain Admins under users
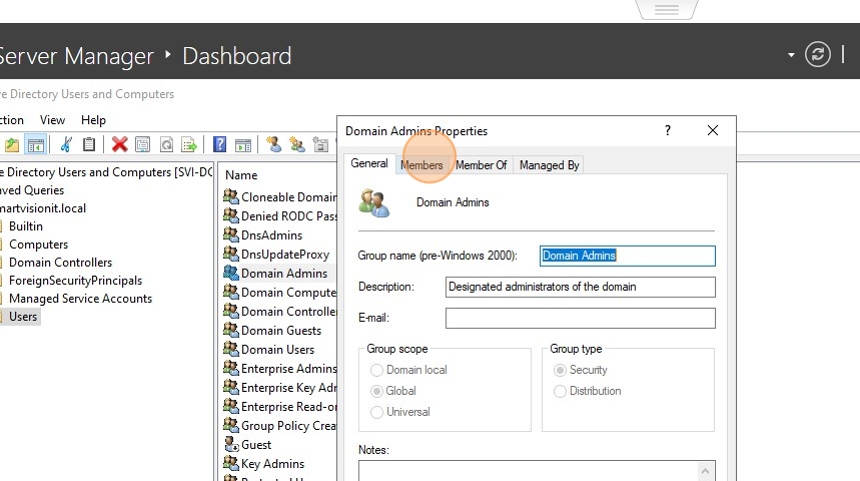
55. Click “Members”
56. Click Add
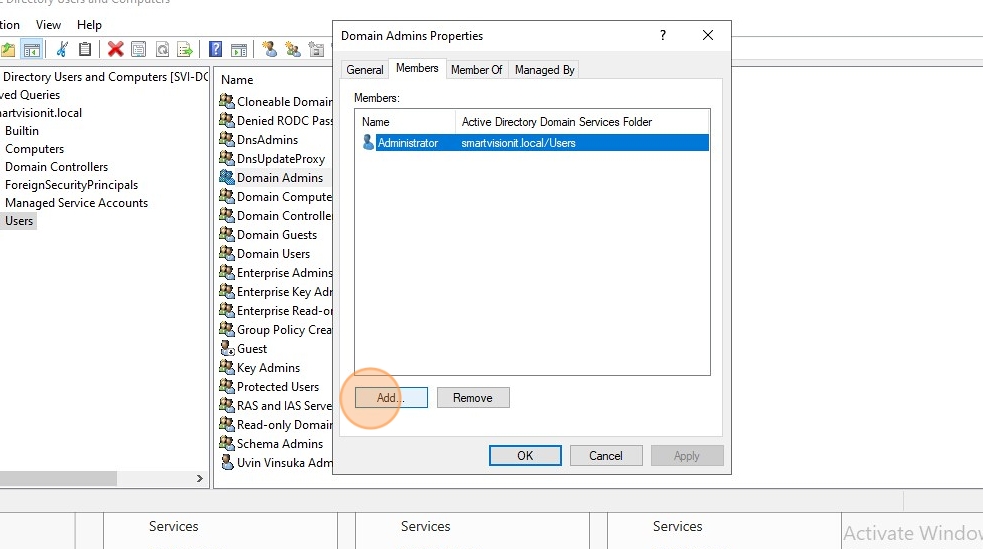
57. Pick the new admin user you created
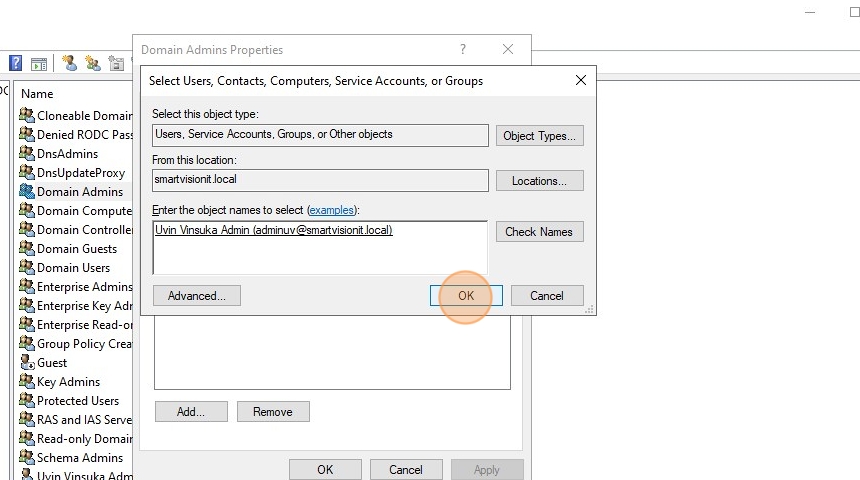
58. Click Ok and Apply changes
59. Restart server
60. Click other user, and you should see the new domain appear

61. Login with user account you created