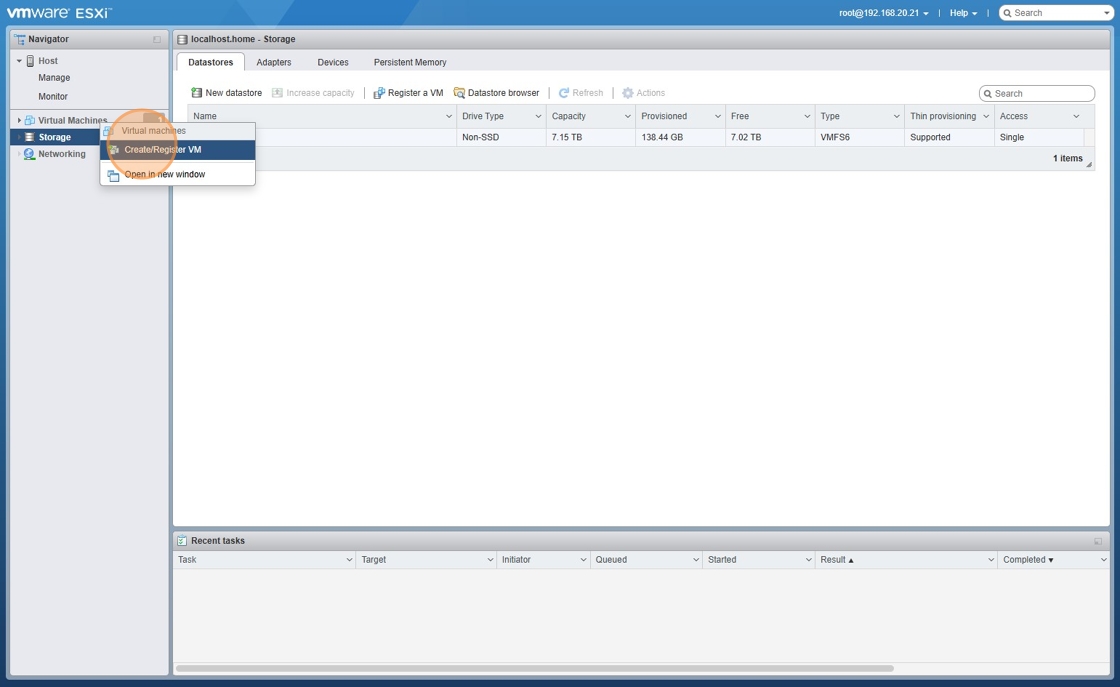
- Navigate to ESXi Portal
- Right Click Virtual Machines and Click “Create/Register VM”
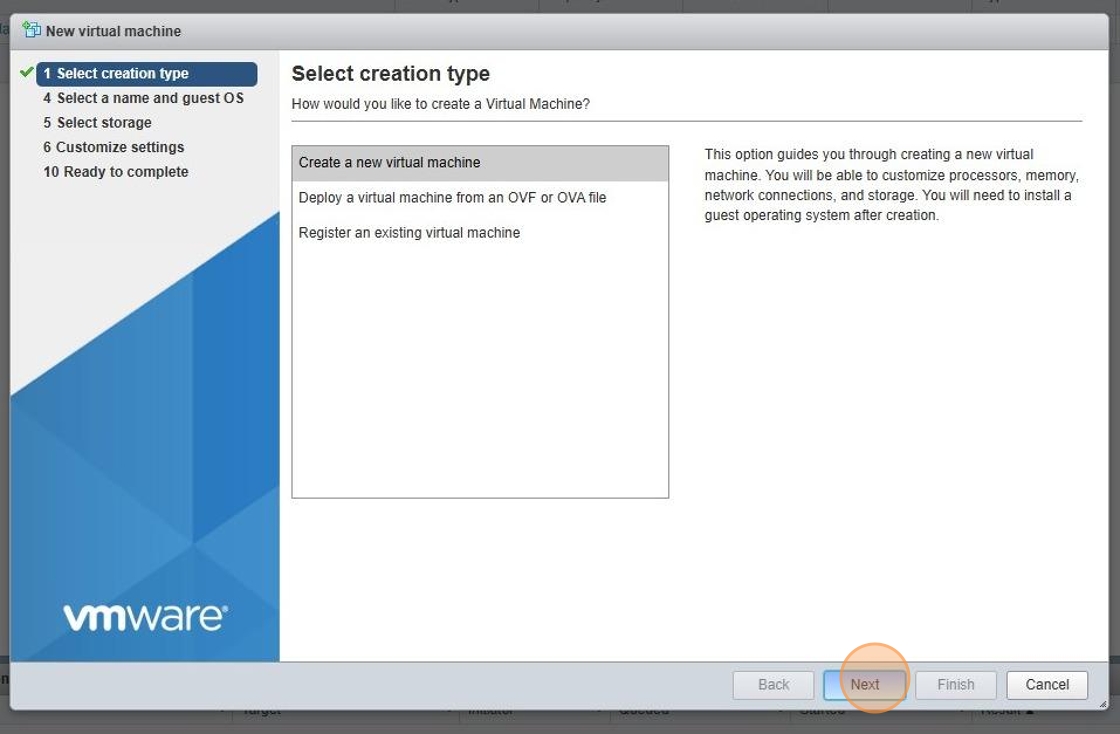
3. Click Create a new virtual machine and click “Next”
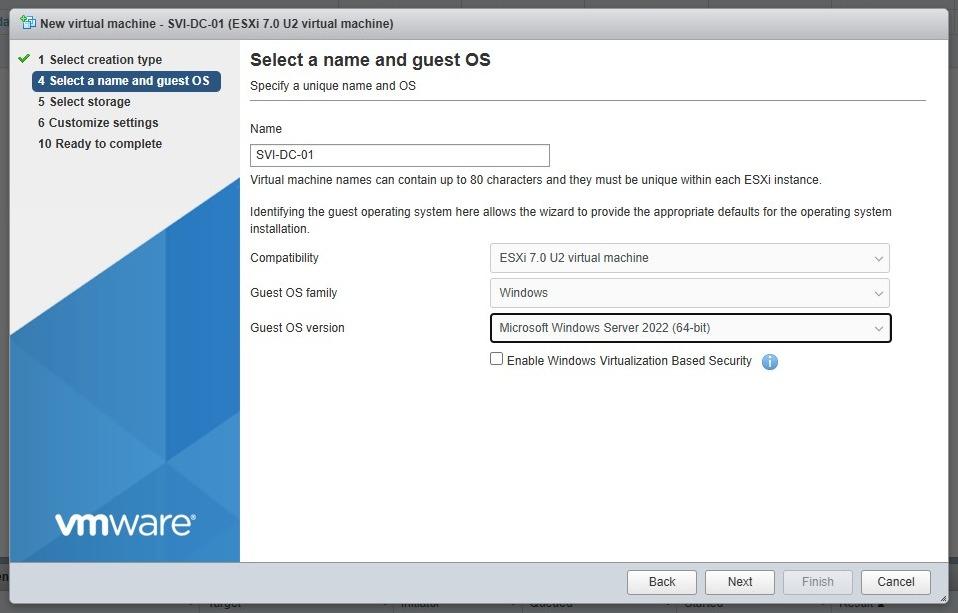
4. Give the VM a name, change OS Family to Windows, and pick Guest Version OS as Microsoft Windows Server 2022 (64 Bit)
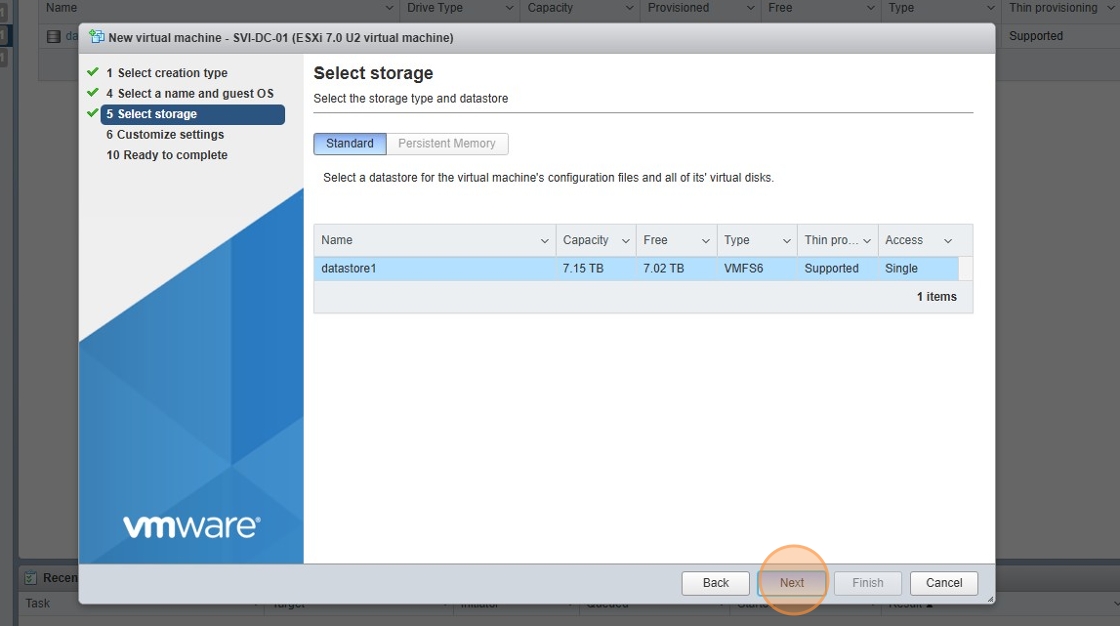
5. Pick a datastore. At this stage we only have one datastore setup. Click “Next”
6. Assign CPU, RAM, Hard Disk Space and VM Network. I have assigned 4 cores, 16GB RAM, 90GB Hard Disk Space and connected it to the default VM Network.
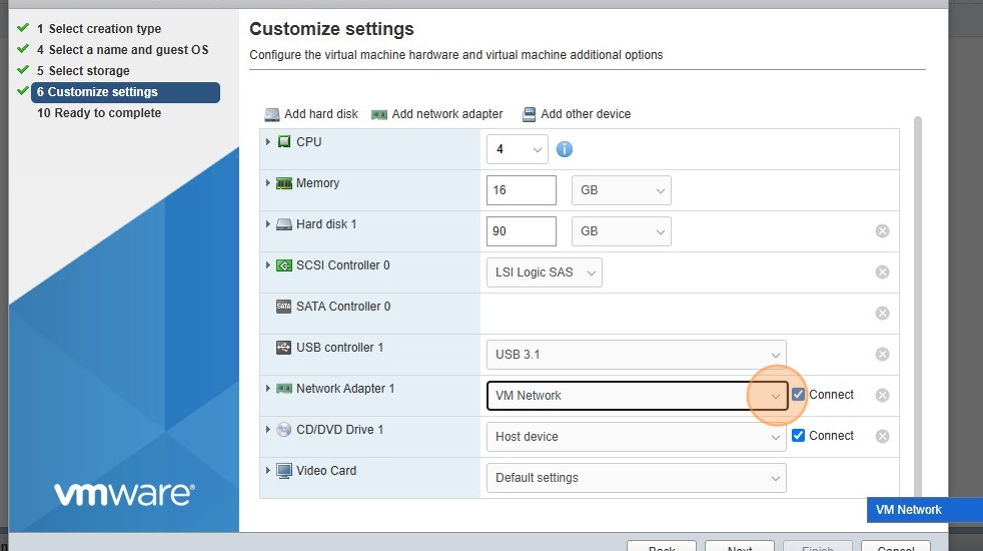
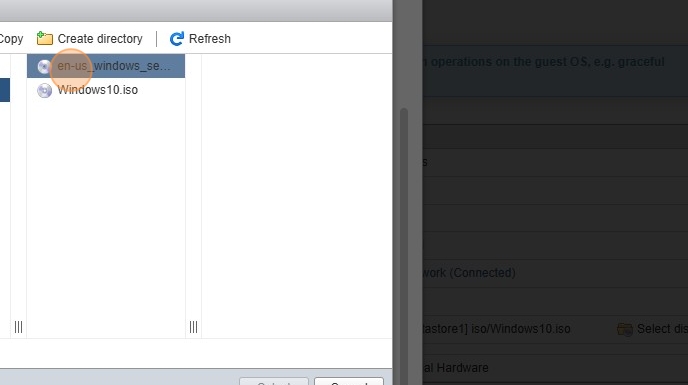
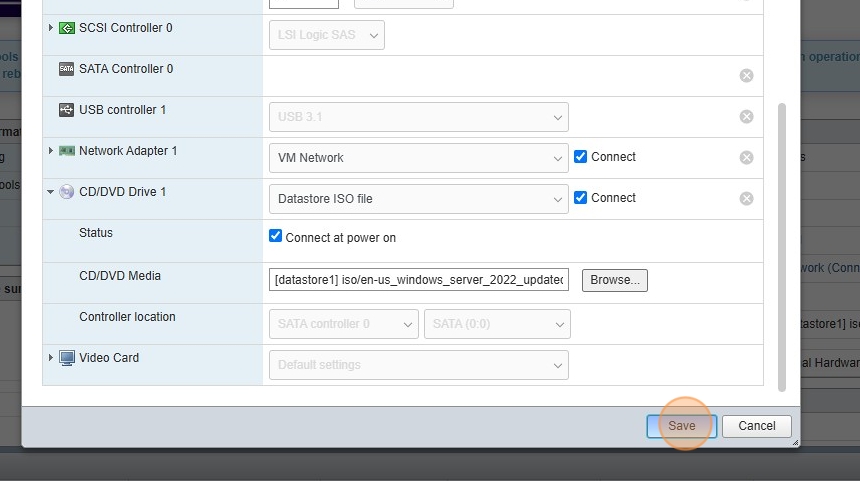
7. At CD/DVD Drive 1, expand and pick your Windows Server 2022 iso
8. Click “Save”
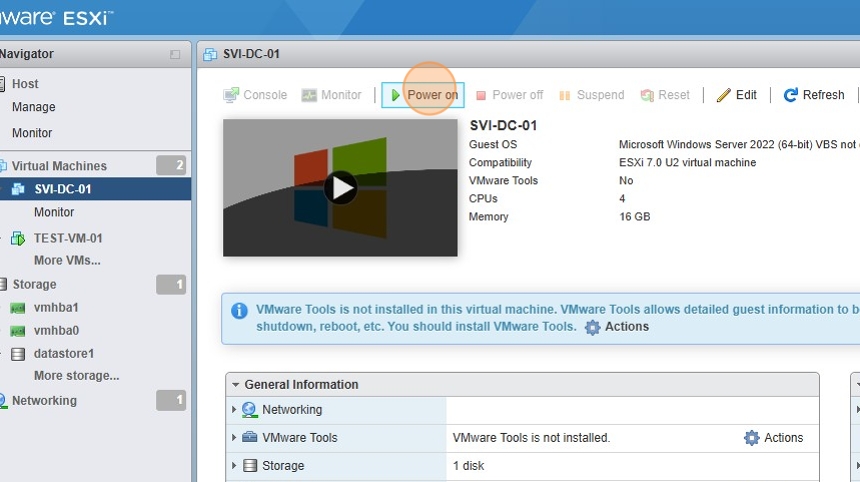
8. Click “Power on”
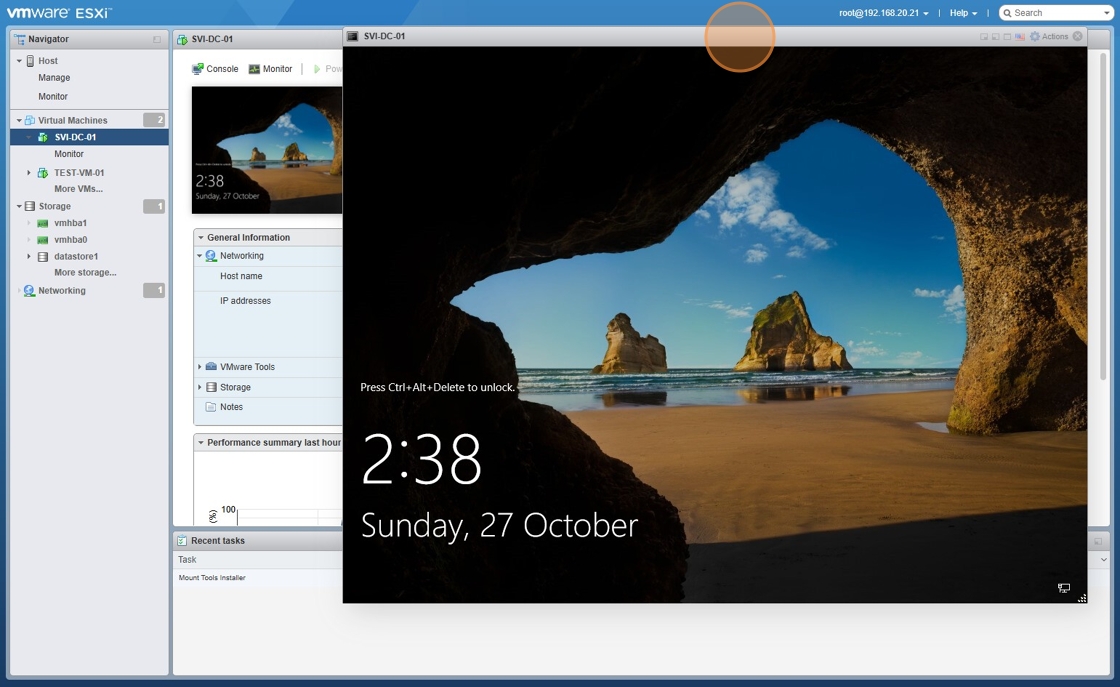
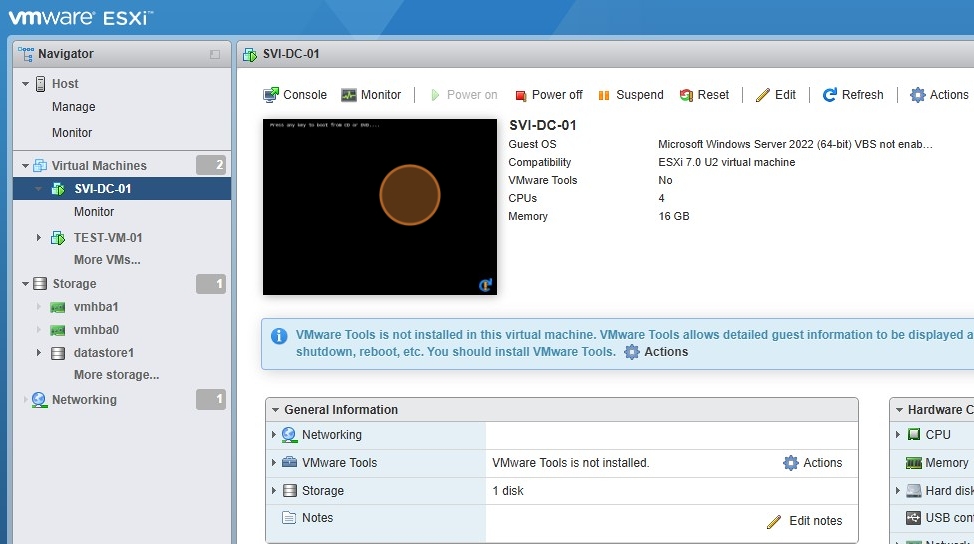
9. Click the VM for it to expand and open
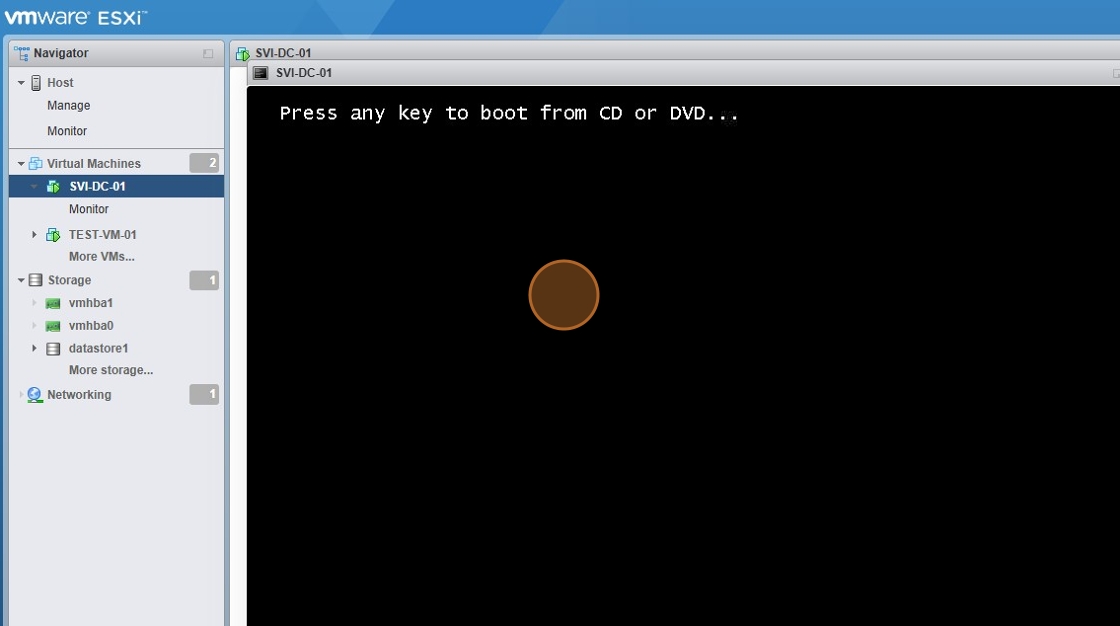
10. Press any key to boot
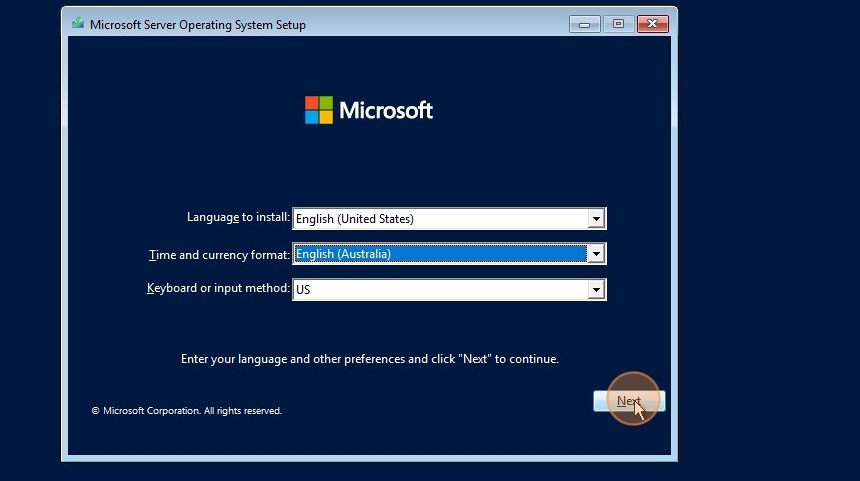
11. Pick language, time and keyboard settings. Click Next
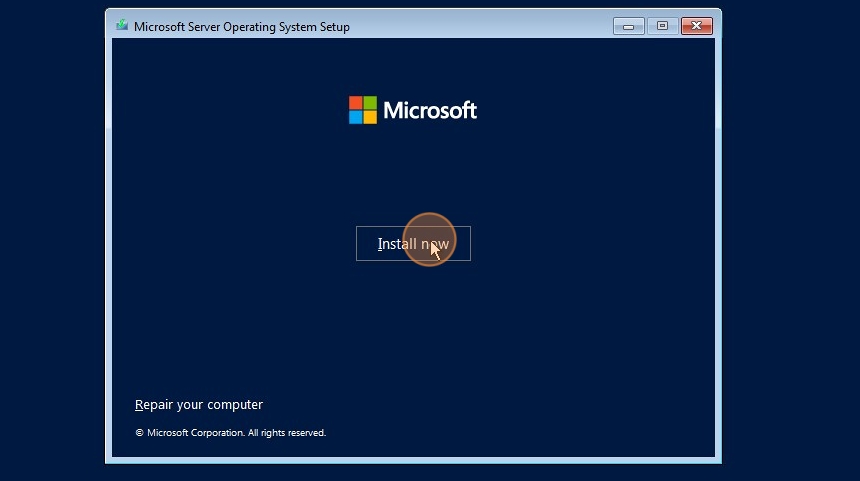
12. Click Install Now
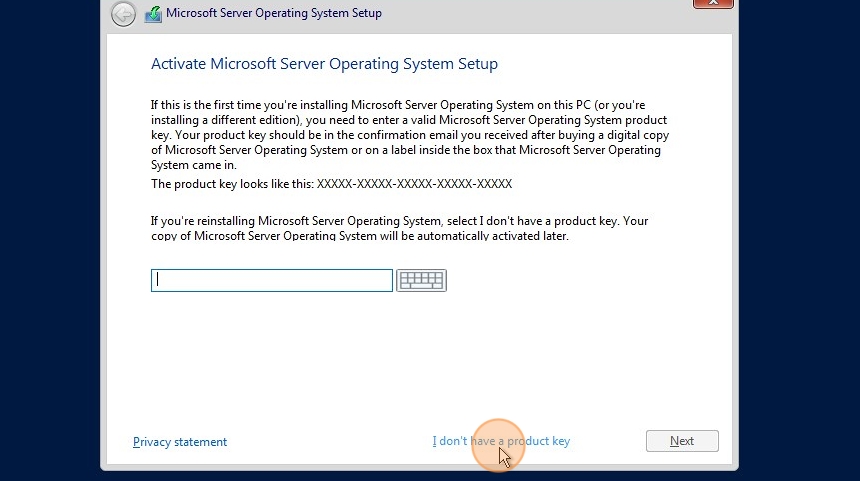
13. If you don’t have a product key, click “I don’t have a product key”
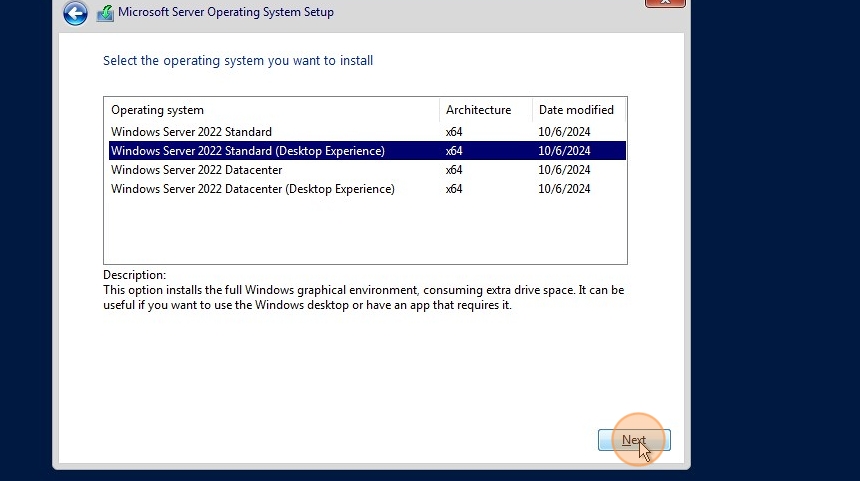
14. Pick Windows Server 2022 standard (Desktop Version). Click next
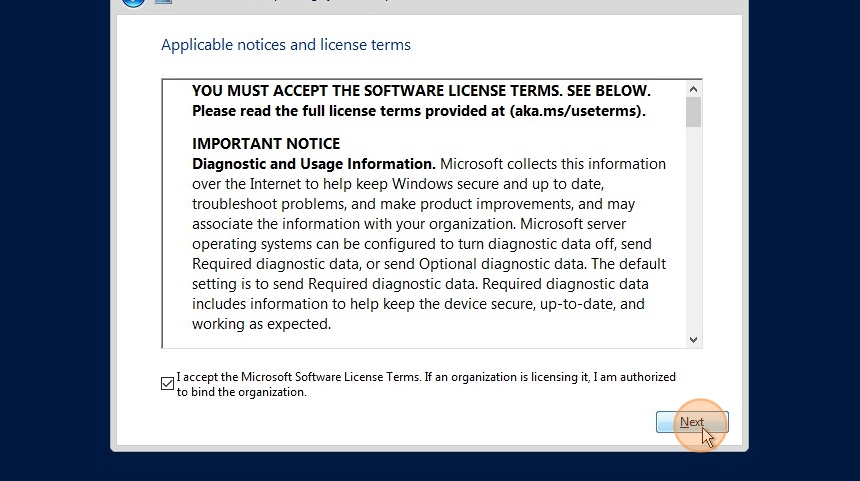
15. Accept and click next
16. Pick Custom Option
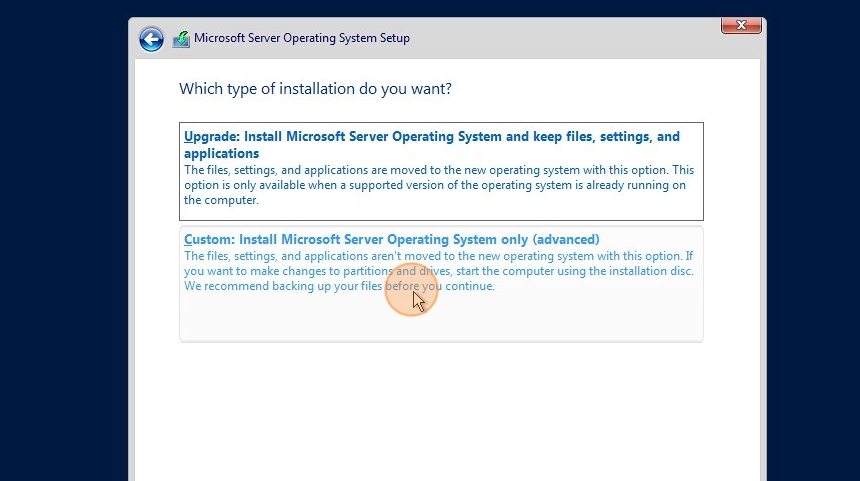
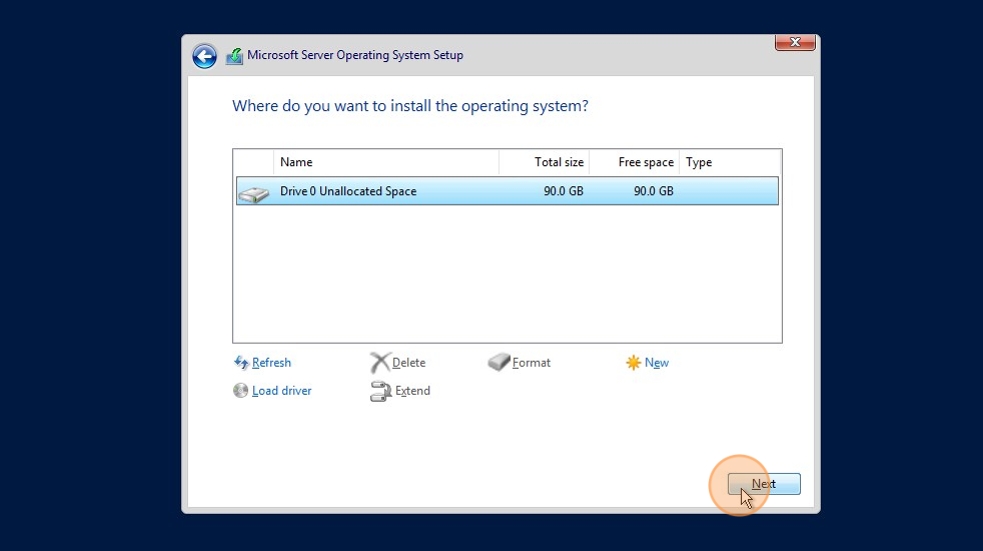
17. Select your Hard Drive
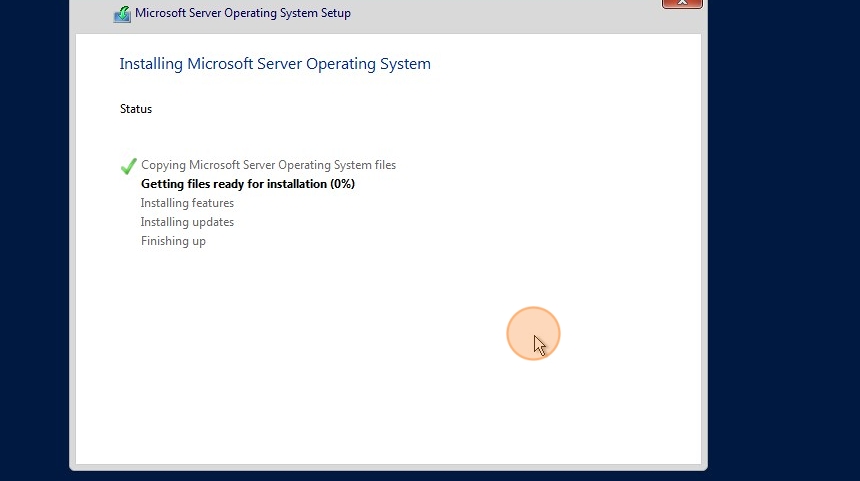
18. Wait for the installation to finish.
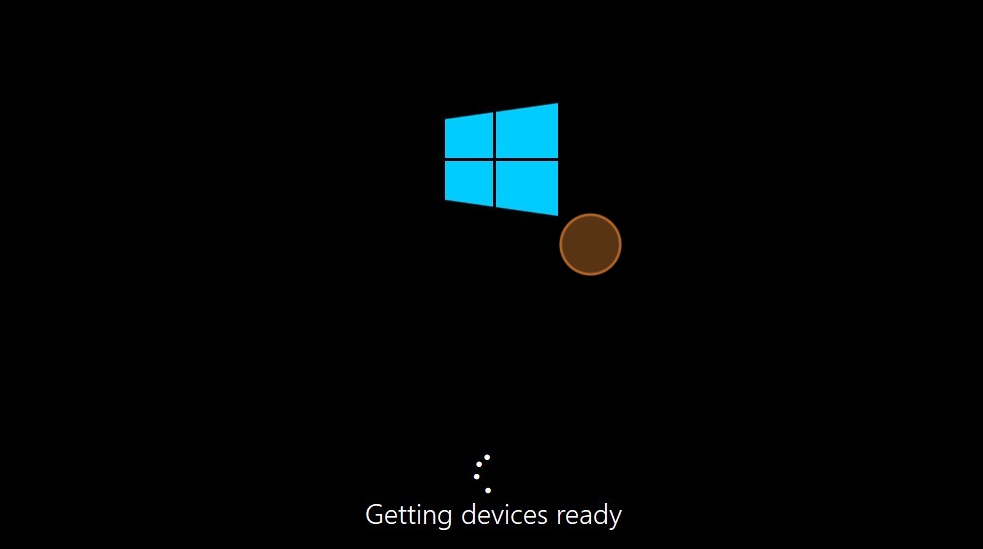
19. Once finished, the device with restart
20. Pick an admin password and click next

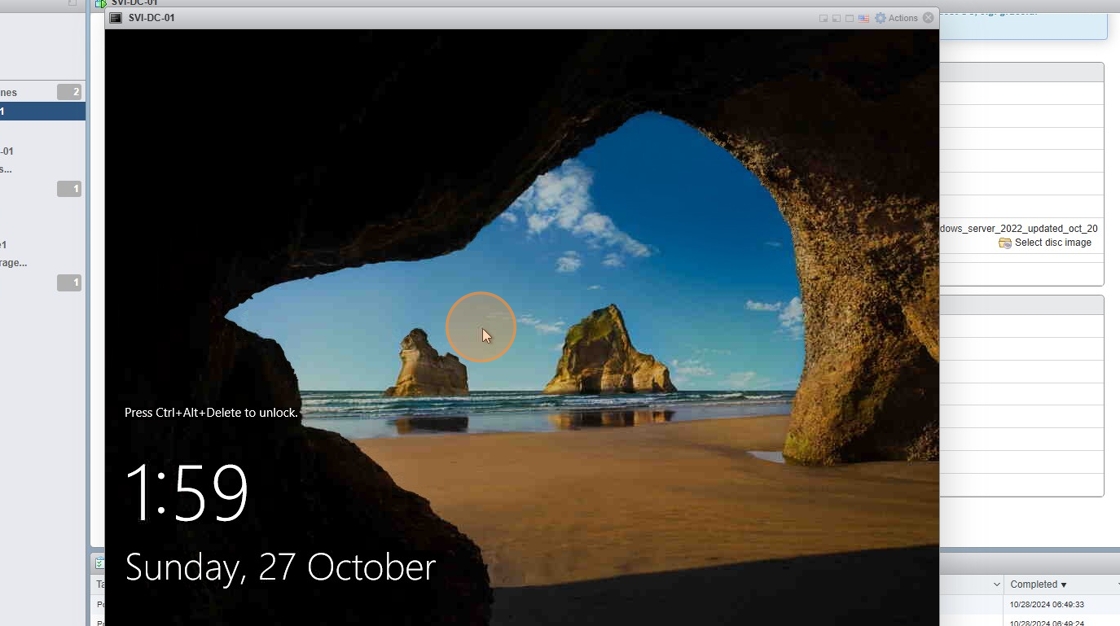
21. Windows Server 2022 is now installed
22. The next step is to install VMWare tools to better manage your VM. Minimise the VM Window
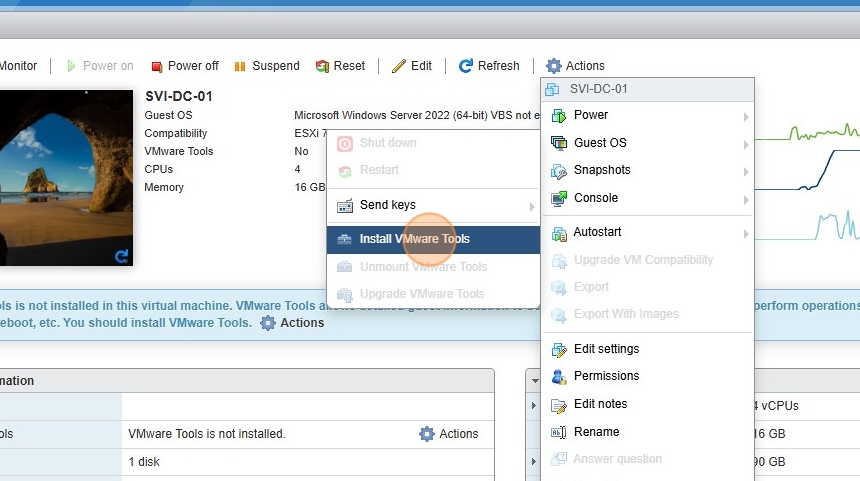
23. Click actions and select “Install VMware Tools”
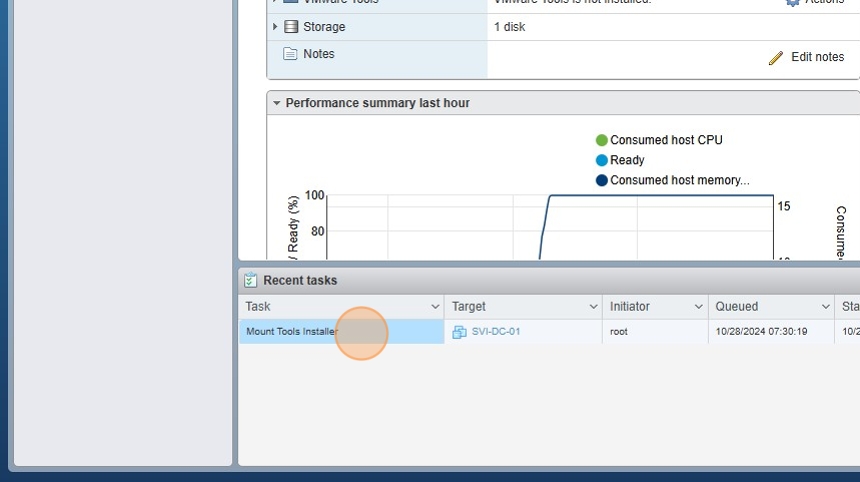
24. Click “Mount Tools Installer” at the bottom
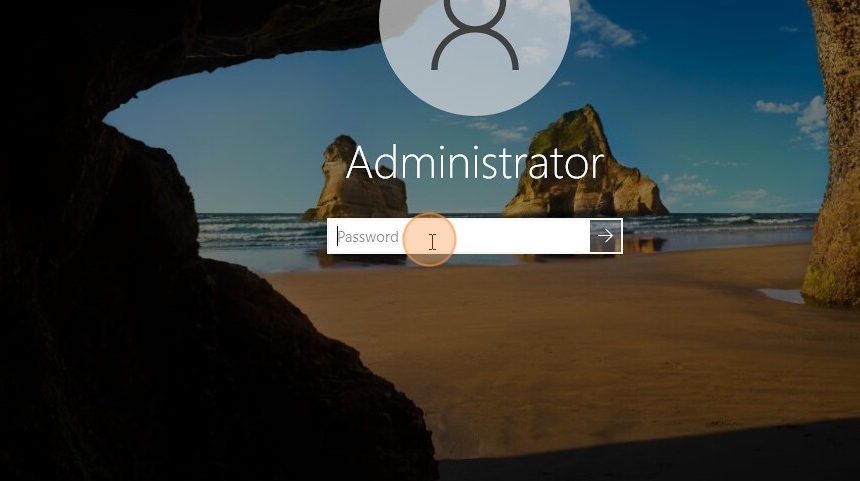
25. Log into your VM with the admin password
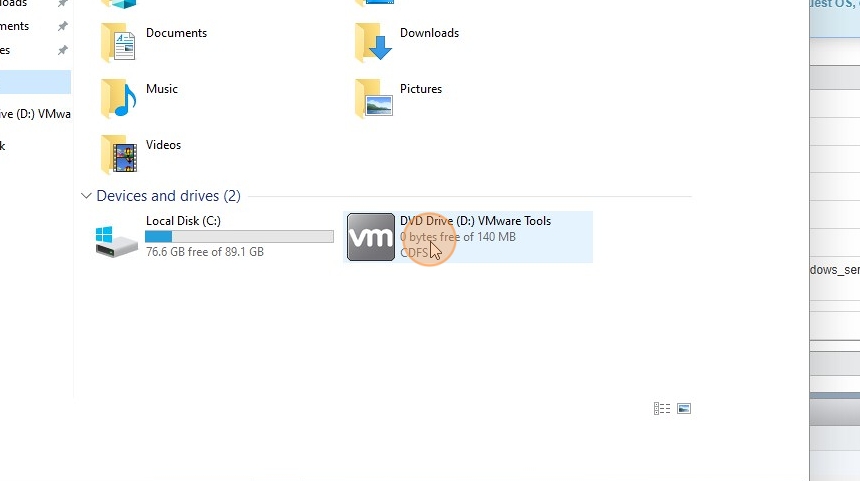
26. Double-click the mounted VMWare Tools drive
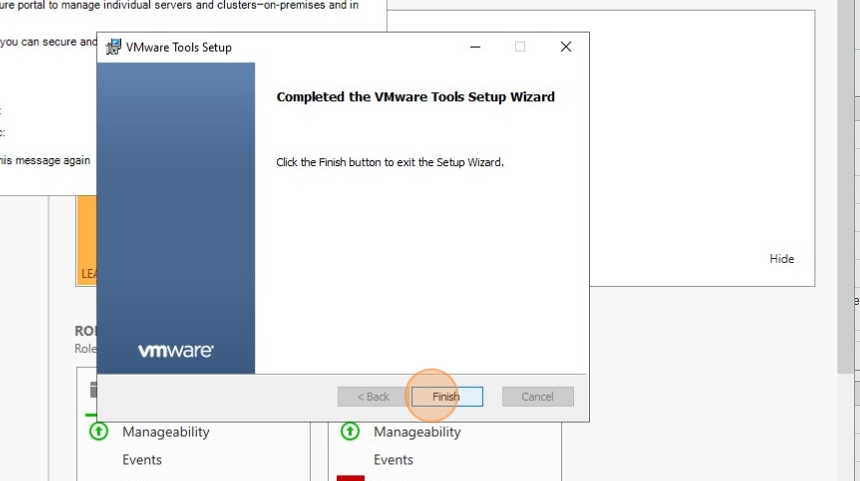
27. Run the installation

28. Click “Finish” when done
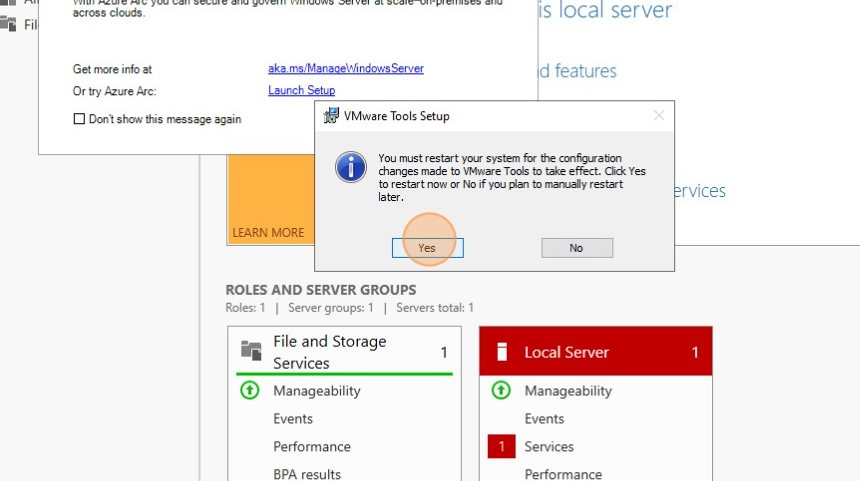
29. Restart your device to complete installation
30. Your device is now ready